No Signal Monitor Troubleshooting Guide
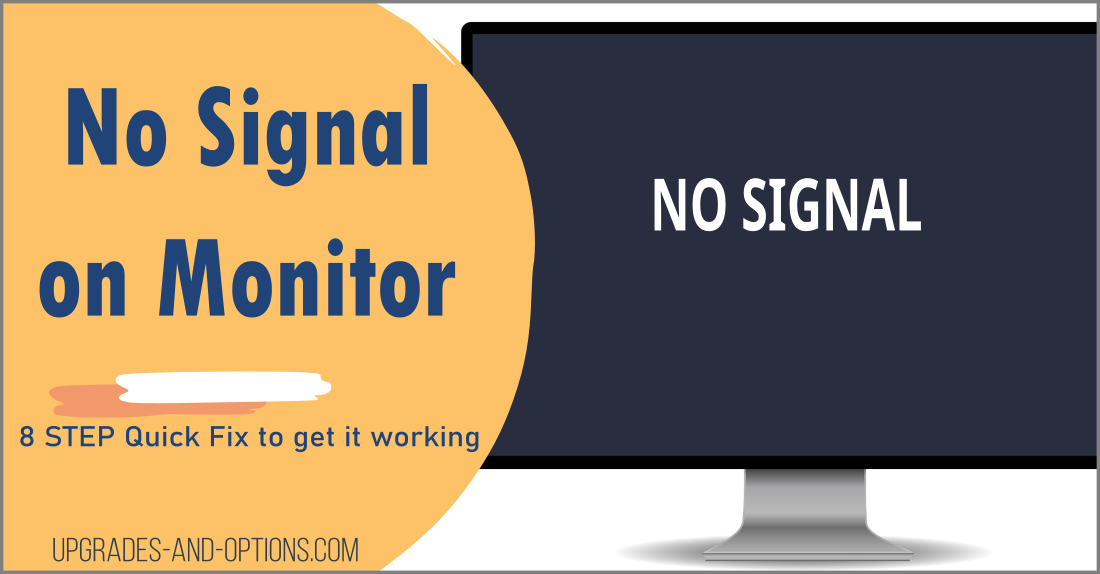
- No signal on the monitor means that the computer is not sending any video signal to the monitor.
- This can be caused by several things including a loose connection between the computer and monitor, a problem with the video card, a problem with the monitor itself, or even a problem with the cable connecting the two.
- If your computer monitor is displaying “No Signal” there are a few things you can do to try and resolve the issue.
- See even more Tech Information Guide articles.
Why Is My Monitor Saying No Signal?
No Signal is a message displayed on a monitor when it cannot receive a video signal from the computer. So if your PC turns on but no signal is going to the monitor, then you’ve got a no signal problem.
We know your monitor is receiving power because it is able to display the error message. So, the issue is either the cables, the computer, or the settings. Follow these 8 steps to fix the problem.
1. Check The Connections:
First, check all of the connections between your computer and the monitor. Make sure that the video cable is firmly connected to both the computer and the monitor.
If you’re using a DVI or HDMI connection, also check that the cable is securely connected at both ends.
Once you’ve checked the connections, power off both the computer and the monitor. Unplug all of the cables from the back of the monitor. Wait a few seconds, then plug them back in and turn on both the computer and the monitor.
Note: Speaking of cables, a DP cable or setting may also cause no signal. If you’re using a DisplayPort connection, try a different cable or switch to another type of connection like HDMI.
Tip: A faulty video cable can also cause the no signal problem, so if you have another cable handy, try using that one.

See the 6 Advantages of using a portable monitor for a laptop:
2. The Input Source Selection On The Monitor Is Incorrect:
The next thing you should do if you see the No Signal message is to check that the monitor input source is correct.
The most common input sources are VGA, DVI, and HDMI, so if you’re using a different input source, make sure to select the correct one.
To change the input selection on the monitor:
- Press the “Menu” button.
- Then use the arrow keys on the monitor to navigate to “Input Source“.
- Select the correct input source such as DVI, HDMI, or VGA.
Tip: On some monitors, you can push the menu button for about 10 seconds to cycle through the available input sources.
ALSO READ: How To Use A Laptop As A Monitor For An Xbox One? (2 options)
3. Disable Power Saving Mode:
Some users have seen a no signal issue while using a DisplayPort connection and power saving mode turned “on”. If this applies to you, try changing this setting. This setting is usually located in the OSD (On-Screen Display) menu.
To disable power saving mode:
- Open the OSD menu by pressing the “Menu” button on your monitor.
- Then use the arrow keys to navigate to “Power Saving Mode”.
- Use the arrow keys to select “Off” and then press the “Menu” button to save the changes.
4. Reset Your Monitor:
Resetting your monitor to its default settings may also fix the no-signal problem. To reset your monitor:
- First, press the “Menu” button on the monitor.
- Navigate to the “Reset” button and press it. A message will appear on the screen asking if you want to reset the monitor.
- Select “OK”.
5. Check Monitor Resolution And Refresh Rate Settings:
The resolution and refresh rate settings in your computer’s display settings may not be set correctly for your monitor.
If your computer is set to a higher resolution than your monitor can handle, you’ll see a “No Signal” message.
To fix this, lower the resolution in your computer’s display settings.
To check the monitor resolution settings:
- Boot Windows in “Safe” mode to display Windows in a low resolution.
- Then go to the Display Settings in Windows and make sure that the resolution is set to the native resolution of your monitor. You can find your monitor’s native resolution in the product manual or on the manufacturer’s website.
Tip: Alternatively, You can “Remote Desktop” into your computer if you have previously set this up. You won’t be able to change the resolution settings, but you can reset the monitor drivers in the “Device Manager”.
Also, check the version of HDMI or DisplayPort your computer has and what your monitor supports.
For example, if your computer only has HDMI 1.4 and your monitor supports HDMI 2.0, you won’t get the full resolution or refresh rate that your monitor is capable of.
If the monitor still doesn’t display even in safe mode, the problem is not with the resolution.
Note: With such a wide range of laptop resolutions available, it can be difficult to know what is best for you and your individual needs. See my article where I explain all the different display resolutions.
6. Check Graphics Card:
There may be a problem with your graphics card. Try removing the card and reinstalling it, making sure that it’s properly seated in the slot. If that doesn’t work, try using a different graphics card.
To reseat your graphics or GPU card, you’ll need to open up the computer case. Usually, there a just a few screws holding a side panel in place.
Once you’ve opened the case, remove the card and then put it back in, making sure to firmly press it into its slot.
7. Try Different Monitor:
Try connecting your computer to a different monitor or using a different video cable. This will help you determine if the problem is with the computer or the monitor.
Tip: If you don’t have a different monitor handy, try using your TV as a temporary replacement. Most TVs nowadays have an HDMI input, so all you need is an HDMI cable.
8. Update Graphics Card Driver:
I put this one last because you will need to use a different working monitor to update the drivers.
With a working monitor:
- Update your GPU drivers.
- Install an updated monitor driver.
- Use the NVIDIA Graphics Firmware Update Tool for DisplayPort 1.3 and 1.4 if you are using NVIDIA.
- Update the BIOS on your computer.
Tip: You may need to completely remove the old graphics driver from Windows before applying an updated version.
How To Fix No Signal On Monitor FAQ
A no signal on monitor message means that your computer is not sending any video signal to the monitor. This can be caused by several things, including a loose connection between your computer and the monitor, a problem with the video card, or even a problem with the cable connecting the two.
To reset your monitor, unplug all of the cables from the back of the monitor. Wait a few seconds, then plug them back in and turn on both the computer and the monitor.
A failing power supply can cause all sorts of problems, including no signal to the monitor. However, this is unlikely to be the root cause of your no signal problem.
To test your monitor, try connecting your computer to a different monitor or using a different video cable. This will help you determine if the problem is with the computer or the monitor.
There could be several reasons why one of your monitors is not receiving a signal. Make sure that the resolution is properly set for both monitors and that the cable connecting them is properly plugged in.
These are the most common solutions for fixing the no signal problem. If you’ve tried all of these and still see the no signal message, then there may be a more serious issue with your monitor and it may be time to buy a new one.

J.S. is the owner, content creator, and editor at Upgrades-and-Options.com. I’ve worked in the IT and Computer Support field for over 20 years. The server hardware in my computer labs has mostly been IBM, but I’ve supported Dell, HP, and various other hardware. In addition, as part of my lab administrator responsibilities, I’ve learned, supported, and repaired/upgraded network hardware such as Cisco routers and switches. READ FULL BIO >>
- Best Laptops for AI and Machine LearningDiscover the top 5 laptops for AI and Machine Learning. We review high-performance machines perfect for deep learning, data science, and neural networks. Artificial Intelligence (AI) and Machine Learning (ML) are no longer futuristic concepts—they are the tools shaping our daily lives right now. From developing complex neural networks to training large language models (LLMs) locally, the hardware demands for these tasks have skyrocketed. In 2025,… Read more: Best Laptops for AI and Machine Learning
- Upgrading SSD Storage in the ThinkPad X9-15 Gen 1 Aura EditionUpgrading SSD Storage and Analyzing Memory in the ThinkPad X9-15 Gen 1 Aura Edition Upgrade Your ThinkPad X9-15 SSD Like a Pro: A Technical Guide The ThinkPad X9-15 Gen 1 Aura Edition (Machine Types 21Q6 and 21Q7) is designed as a premium device. While memory is permanently fixed, users can easily expand storage capacity, as the M.2 Solid-State Drive (SSD) is designated as an Optional-service Customer… Read more: Upgrading SSD Storage in the ThinkPad X9-15 Gen 1 Aura Edition
- How Quantum Computing Could Impact Everyday LaptopsQuantum computing may sound like science fiction, but its potential to revolutionize technology is very real. Unlike classical computing, which processes information using bits as 0s and 1s, quantum computing leverages the strange and exciting principles of quantum mechanics — like superposition and entanglement — to perform calculations at speeds previously thought impossible. This unprecedented power isn’t just about tackling complex simulations or advancing artificial intelligence;… Read more: How Quantum Computing Could Impact Everyday Laptops
- What Is The Difference Between Lenovo’s Pens? (with Part Numbers)Do you ever find yourself writing with an old-school pen or even worse a pencil? As you pry your fingers off that last-century writing device, ask yourself if there isn’t a better way. Well ask no more, there is a whole world of digital pens out there just waiting for you to discover.I went through this same process and wanted to find out about the digital… Read more: What Is The Difference Between Lenovo’s Pens? (with Part Numbers)
- Legion 5 Laptop Upgrade Guide: Game Like a ProThis article serves as your ultimate guide to upgrading your Lenovo Legion 5 laptop with RAM and SSD, unlocking its potential to deliver unbeatable gaming performance. With over two decades of expertise in the tech industry and countless successful upgrade projects under my belt, I’ve distilled all my knowledge into this comprehensive guide. You’ll learn, step by step, how to upgrade the RAM and SSD; and… Read more: Legion 5 Laptop Upgrade Guide: Game Like a Pro

