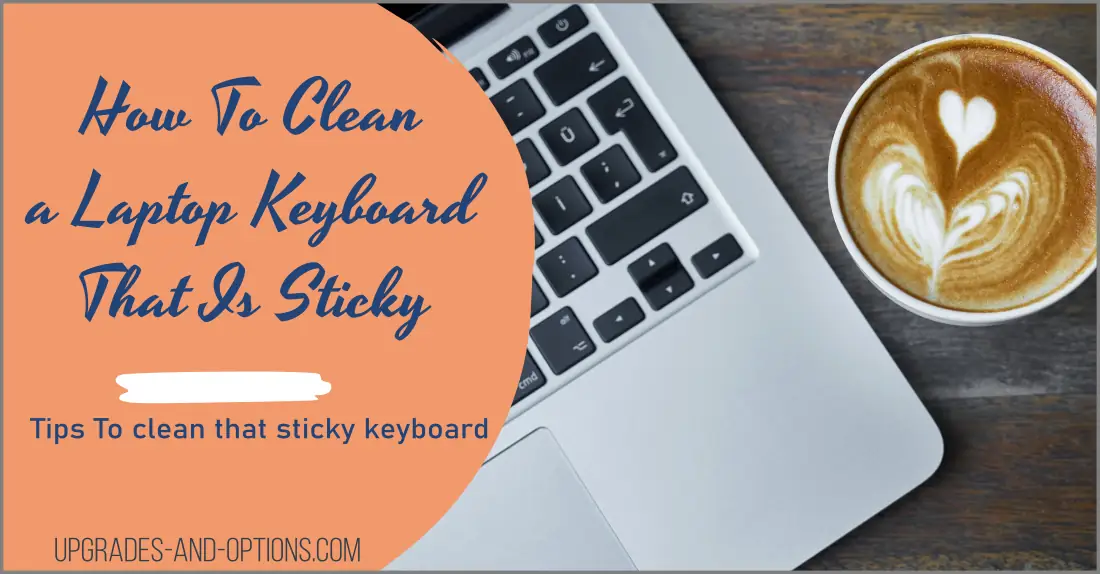
Keyboard problems got you feeling sticky?
Let’s learn how to clean a laptop keyboard that is sticky.
To clean a sticky laptop keyboard, follow these simple steps to keep it free of dirt, grime, and germs. Get expert tips on the best tools and methods to restore your keyboard to its original condition.
A list of items you may need:
- Cleaning cloth or microfiber towel: Choose a cloth that won’t leave behind lint or fibers on your keyboard.
- Compressed air can: This is used to remove any dirt or debris that may be hiding between the keys.
- Isopropyl alcohol: This is a gentle cleaner that can be used to remove sticky residue from the keyboard.
- Cotton swabs or toothpicks: These can be used to get into tight spaces between the keys.
- Small brush: A small brush, such as a toothbrush, can be used to clean around the keys and in tight spaces.
- Keycap puller: This is an optional tool that can be used to remove the keys from the keyboard for cleaning.
Note:
Using a keycap puller is a simple process, but you should exercise caution to avoid damaging the keycap or the keyboard. Here are the steps to remove keys with a keycap puller:
- Identify the key you want to remove: Find the key you want to clean or replace and make note of its placement.
- Prepare the keycap puller: Take the keycap puller and insert the two hooks into the holes on either side of the key.
- Apply gentle pressure: Hold the keycap firmly in place and apply gentle pressure to the hooks of the keycap puller. The hooks should grip the keycap and allow you to pull it up and away from the keyboard.
- Remove the keycap: Slowly and gently pull the keycap up and away from the keyboard. The keycap should come off easily, exposing the mechanism underneath.
- Clean the keycap and keyboard: Use a damp cloth or a cleaning solution to clean the keycap and the keyboard, being careful not to get any moisture inside the keyboard.
- Reattach the keycap: Once the keycap and keyboard are clean, gently place the keycap back into place, making sure it is securely attached. Repeat this process for any other keys you want to remove and clean.
It is important to note that some laptop keyboards may be more difficult to remove the keycaps from than others. If you are having difficulty removing a keycap, refer to your laptop’s manual or seek assistance from a professional technician.
Tip for the Spacebar:
To get the space bar key back on correctly, make sure the two retaining clips on either end of the key are aligned properly with the corresponding hooks on the keyboard.
You may need to gently adjust the clips with a small tool, such as a toothpick, to get them in the right position. Once the clips are aligned, press the key down firmly to snap it back into place.
—
A Guide on How To Clean a Sticky Laptop Keyboard:
To clean a sticky laptop keyboard, follow these simple steps below.
- Turn off the laptop and unplug it from the power source(AC Adapter).
- Remove the battery (if possible) to prevent any accidental damage.
- Use a can of compressed air to blow out any debris or particles from between the keys.
- Get a small brush or soft-bristled toothbrush to remove any dirt or debris that the compressed air did not remove.
- Dampen a cloth or paper towel with a small amount of water or cleaning solution.
- Gently wipe the keys with a damp cloth or paper towel. Avoid getting any liquid inside the laptop as this can cause permanent damage.
- If you are using a cleaning solution, make sure it is safe for use on electronics. Avoid using abrasive or harsh chemicals, such as bleach, as they can damage the keys or the surface of the laptop.
- Once you have wiped down the keys, use a dry cloth to thoroughly dry the keyboard.
- Reattach the battery (if removed) and plug the laptop back in.
- Turn on the laptop and test each key to make sure it is no longer sticky. If some keys are still sticky, repeat the cleaning process.
Additional Tips:
- Avoid eating or drinking near your laptop to prevent spills or crumbs from getting inside the keyboard.
- Regular cleaning of your keyboard can help prevent the keys from becoming sticky and ensure it lasts longer.
Caution: Using water to clean your laptop keyboard can be risky and potentially damage the keyboard or internal components. If you must use a liquid solution, make sure to use a small amount and thoroughly dry the keyboard afterward. It’s best to avoid using water altogether and stick to dry cleaning methods.
Related: Lenovo Laptop Keyboard Not Working? (Steps To Fix)
In conclusion, cleaning a sticky laptop keyboard is a simple process that requires only a few tools and supplies. By following these steps, you can clean your sticky laptop keyboard.
FAQs
The signs include keys sticking, a sluggish or unresponsive typing experience, and an accumulation of debris or residue on the keys or between them.
Immediately turn off the laptop, unplug it, and remove the battery if possible, then gently tilt the laptop to allow the liquid to drain out, before proceeding to carefully clean the keyboard with a solution of water and mild soap.
No, it’s not recommended as it can potentially cause damage to the keys or other components, it’s better to use a can of compressed air or a gentle brush.
A keycap puller is a tool used to safely remove individual keys from a laptop keyboard.
No, Not all cleaning solutions are safe for use on a laptop keyboard, it’s important to research and choose a solution that is specifically designed for electronics.
How often you should clean your laptop keyboard depends on your own usage and your environment, but it is recommended to clean it at least once every few months.

J.S. is the owner, content creator, and editor at Upgrades-and-Options.com. I’ve worked in the IT and Computer Support field for over 20 years. The server hardware in my computer labs has mostly been IBM, but I’ve supported Dell, HP, and various other hardware. In addition, as part of my lab administrator responsibilities, I’ve learned, supported, and repaired/upgraded network hardware such as Cisco routers and switches. READ FULL BIO >>
More Resources: