In today’s connected world, having access to the internet is more of a necessity than a luxury. Whether you’re using a Chromebook for work, school, or personal use, connecting it to Wi-Fi is one of the first things you’ll need to do.
This blog post will guide you through the process step-by-step.
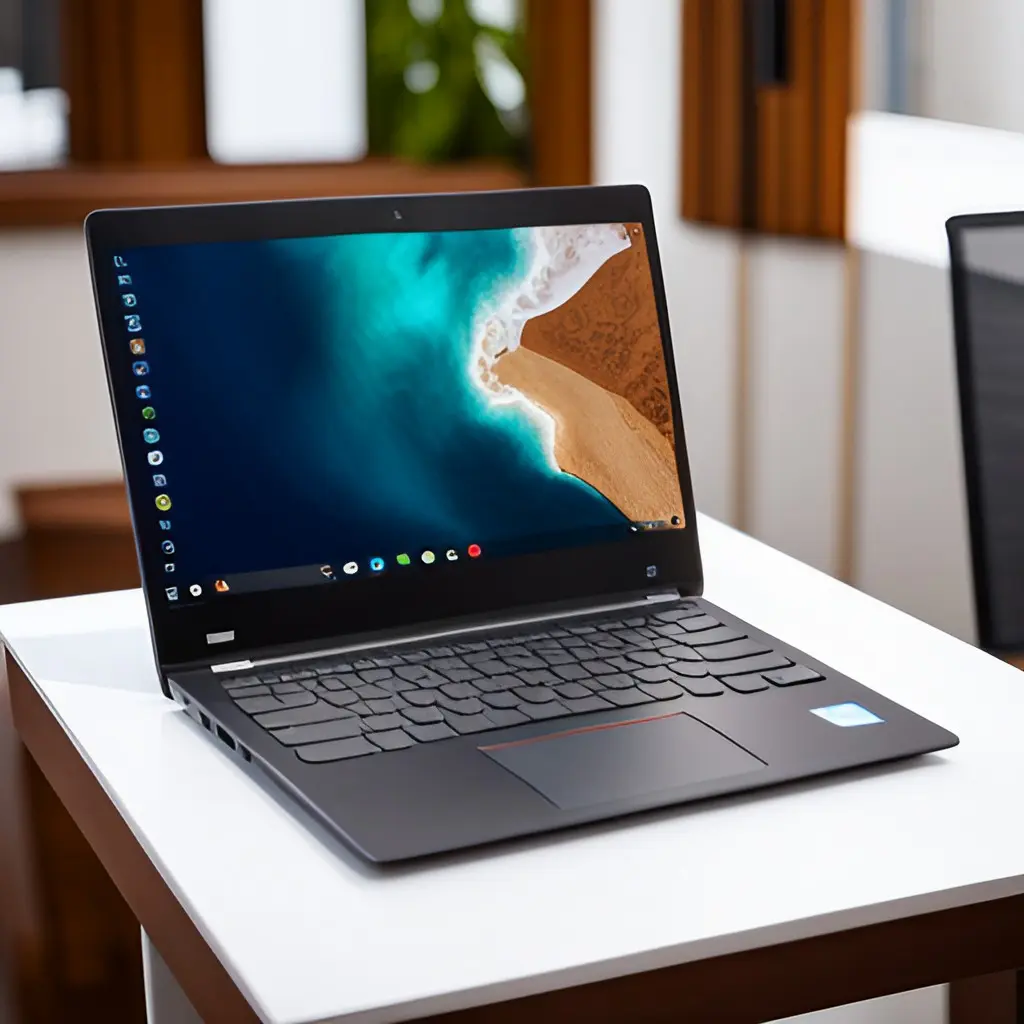
Turning on Wi-Fi on a Lenovo Chromebook
If you’re looking to connect your Lenovo Chromebook to the internet, you’ll need to turn on Wi-Fi. Here’s a step-by-step guide on how to do it:
- Access Quick Settings: Begin by clicking on the status area located on the bottom right toolbar of your Chromebook. This is where your account picture is displayed.
- Go to Settings: In the pop-up panel that appears, click on the gear icon, which represents ‘Settings.’
- Find Internet Connection: In the Settings menu, look for the section labeled ‘Internet connection.’
- Turn on Wi-Fi: Here, you’ll find a switch labeled ‘Wi-Fi.’ If it’s greyed out, that means the Wi-Fi is turned off. Click on this switch to turn on Wi-Fi. When the Wi-Fi is enabled, the switch will be blue.
- Connect to a Network: Once your Wi-Fi is turned on, your Chromebook will automatically start searching for available networks. These will be displayed in a list. Click on the network you want to connect to. If the network is secured, you’ll be asked to enter a password.
Connecting to a Visible Network
- Click on the status area: Located at the bottom-right corner of your screen, where your account picture appears.
- Select the Wi-Fi icon: This will open a list of available networks.
- Choose your network: Scroll through the list and click on the name of the network you want to connect to.
- Enter the password: If the network is secured (most are), you’ll need to enter the password.
- Connect: Click on ‘Connect’ to establish your internet connection.
Remember, your information might be visible to other people on this network, so it’s essential to ensure you’re connecting to a secure and trusted network.
Related: How To Upgrade Your Laptop’s WiFi Card | Get Faster Speeds
Connecting to a Hidden Network
Some Wi-Fi networks might not broadcast their names to the public. Here’s how you can connect to a hidden network:
- Click on the status area: You’ll find this at the bottom-right corner of the screen.
- Select the Wi-Fi icon: This will open a list of available networks.
- Add a network: At the bottom of the Wi-Fi section, click on ‘Add Wi-Fi.’
- Enter network information: Fill in the ‘Network Name,’ select the ‘Security’ type, and enter the password if the network is secured.
- Connect: Click on ‘Connect’ to join the network.
The information for this network will be automatically saved so you can connect to it automatically later.
Automatically Connect to a Network
A Lenovo Chromebook can automatically connect to a network if the settings have been configured to do so. Here’s a general process based on information from Lenovo and Google’s Chromebook support:
- Make sure you’re connected to a Wi-Fi network.
- At the bottom right, select the time.
- Select Settings.
- In the “Network” section, select Wi-Fi > your network.
- Turn on Automatically connect to this network.
Finding MAC and IP Addresses
If you need to find your Chromebook’s MAC address or IP address, follow these steps:
- Click on the status area: Located at the bottom-right corner of your screen.
- Go to the network section: Click on the Wi-Fi icon, then on the name of the network you’re connected to.
- Find the addresses: In the box that appears, you’ll find your Chromebook’s IP address and the Wi-Fi MAC address.
Choosing Secure Network Settings
When connecting to a Wi-Fi network, it’s important to choose secure network settings. WPA2 is recommended as it’s more secure than WEP or WPA. Chromebooks support 802.11 a/b/g/n and 802.11ac Wi-Fi standards.
Troubleshooting Wi-Fi Connection Issues
Here are some troubleshooting steps to help you resolve common Wi-Fi connection issues:
Check Signal Strength:
- Ensure that you are within range of your Wi-Fi router and that the signal strength is sufficient. If you’re far from the router, try moving closer to improve the connection.
Restart Router:
- Sometimes, a simple restart of your Wi-Fi router can resolve connectivity problems. Unplug the router, wait for a few seconds, and then plug it back in. Allow it a few moments to reboot and reconnect.
Verify Wi-Fi Network Credentials:
- Double-check the network name (SSID) and password you entered for your Wi-Fi network. Ensure they are accurate, including any uppercase or lowercase characters, as Wi-Fi passwords are case-sensitive.
Disable Airplane Mode:
- Check that your Chromebook’s Airplane mode is turned off. Airplane mode disables all wireless connections, including Wi-Fi. Toggle the Airplane mode off in the quick settings or settings menu.
Forget and Reconnect to Network:
- If you’re having trouble connecting to a specific Wi-Fi network, try forgetting the network and reconnecting. Go to the Wi-Fi settings, locate the network in question, and select “Forget.” Then, reconnect to the network by entering the correct credentials.
Update Chrome OS:
- Ensure that your Chromebook is running the latest version of Chrome OS. Outdated software can cause compatibility issues with Wi-Fi networks. To update, go to Settings > About Chrome OS > Check for Updates.
Restart Chromebook:
- A simple restart of your Chromebook can often resolve connectivity problems. Save your work, click on the system tray, select the power icon, and choose “Restart.”
Reset Network Settings:
- If the above steps don’t solve the issue, try resetting your Chromebook’s network settings. Go to Settings > Advanced > Reset settings > Reset settings. This will restore network-related settings to their default values.
Check Router Settings:
- Access your Wi-Fi router’s administration settings to ensure there are no specific restrictions or settings that may be blocking your Chromebook’s connection. If needed, consult the router’s manual or contact your internet service provider for assistance.
Related: How To Use Your Laptop As WiFi Hotspot
Network Security
When connecting your Lenovo Chromebook to a Wi-Fi network, it’s crucial to prioritize network security to protect your data and maintain privacy. Here are some essential tips to ensure a secure network connection:
Use Secure Networks:
- Connect to trusted and secure Wi-Fi networks. Avoid using public or unsecured networks that may expose your sensitive information to potential threats.
Enable Network Encryption:
- Ensure that your Wi-Fi network is encrypted with WPA2 (Wi-Fi Protected Access 2) or a more advanced encryption protocol. Encryption adds an extra layer of security by scrambling the data transmitted over the network, making it difficult for unauthorized individuals to intercept and decipher.
Update Router Firmware:
- Keep your Wi-Fi router’s firmware up to date. Manufacturers frequently release firmware updates that address security vulnerabilities and improve performance. Regularly check for updates and apply them to enhance your network’s security.
Use Strong Passwords:
- Set a strong, unique password for your Wi-Fi network. Avoid common or easily guessable passwords. Include a combination of uppercase and lowercase letters, numbers, and special characters to make it more secure. Also, change the default login credentials of your Wi-Fi router to prevent unauthorized access to its settings.
Enable Firewall Protection:
- Ensure that your Wi-Fi router’s firewall is enabled. A firewall acts as a barrier between your network and the internet, monitoring incoming and outgoing traffic and blocking potentially malicious connections. Check your router’s settings to enable firewall protection.
Disable Remote Management:
- Unless necessary, disable remote management on your Wi-Fi router. Remote management allows access to the router’s settings from outside your network, increasing the risk of unauthorized access. Disable this feature to prevent potential security breaches.
Install Antivirus and Security Software:
- While Chromebooks are designed with built-in security features, it’s always a good idea to install reputable antivirus and security software. These tools can provide an additional layer of protection against malware, phishing attempts, and other cyber threats.
Be Wary of Public Wi-Fi:
- Exercise caution when connecting to public Wi-Fi networks, such as those in cafes, airports, or hotels. These networks are often unsecured and can expose your data to potential risks. Consider using a virtual private network (VPN) to encrypt your internet traffic and protect your privacy.
Regularly Monitor Connected Devices:
- Periodically review the list of devices connected to your Wi-Fi network. Ensure that you recognize all the devices and remove any unknown or unauthorized connections. This helps prevent unauthorized access to your network and ensures that only trusted devices are connected.
Conclusion
In conclusion, connecting your Chromebook to Wi-Fi is a simple process that can be done in just a few clicks. Whether you’re at home, at a coffee shop, or in the office, you can stay connected and get your work done efficiently.

J.S. is the owner, content creator, and editor at Upgrades-and-Options.com. I’ve worked in the IT and Computer Support field for over 20 years. The server hardware in my computer labs has mostly been IBM, but I’ve supported Dell, HP, and various other hardware. In addition, as part of my lab administrator responsibilities, I’ve learned, supported, and repaired/upgraded network hardware such as Cisco routers and switches. READ FULL BIO >>
- Best Laptops for AI and Machine Learning
- Upgrading SSD Storage in the ThinkPad X9-15 Gen 1 Aura Edition
- How Quantum Computing Could Impact Everyday Laptops
- What Is The Difference Between Lenovo’s Pens? (with Part Numbers)
- Legion 5 Laptop Upgrade Guide: Game Like a Pro
- How to Replace Your Laptop Battery: A Step-by-Step Guide
- IdeaPad Gaming 3 Upgrade (Full Specs)
- Shut Down a Lenovo Laptop: Quick and Easy
