From offering exceptional sound quality to boasting sleek, minimalist designs, AirPods have rapidly become a must-have accessory for music lovers and tech enthusiasts alike.
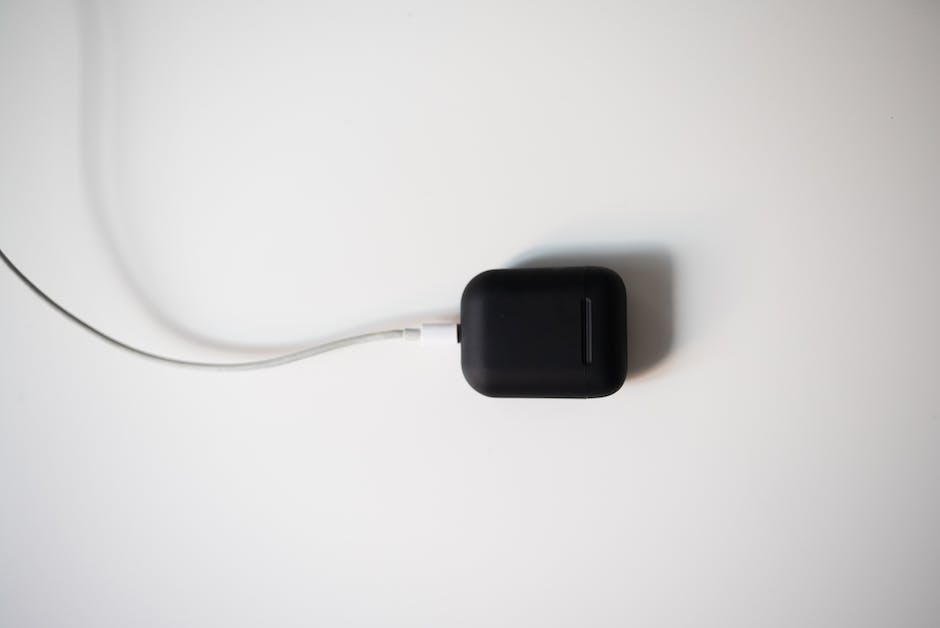
However, like all devices, they’re not without their quirks and inconveniences. One such complication is the frustrating situation when the AirPods are not charging in their case.
Understanding your AirPods charging case, learning how to reset your AirPods, and troubleshooting both hardware and software are crucial components that can help you resolve this issue.
Understand Your AirPods Charging Case
To ensure your AirPods are charging correctly within their case, it is crucial to properly align them. Failing to do so may result in your AirPods not charging.
Follow these easy guidelines to ensure seamless charging and prevent any hiccups.
Step 1: Perfect Placement
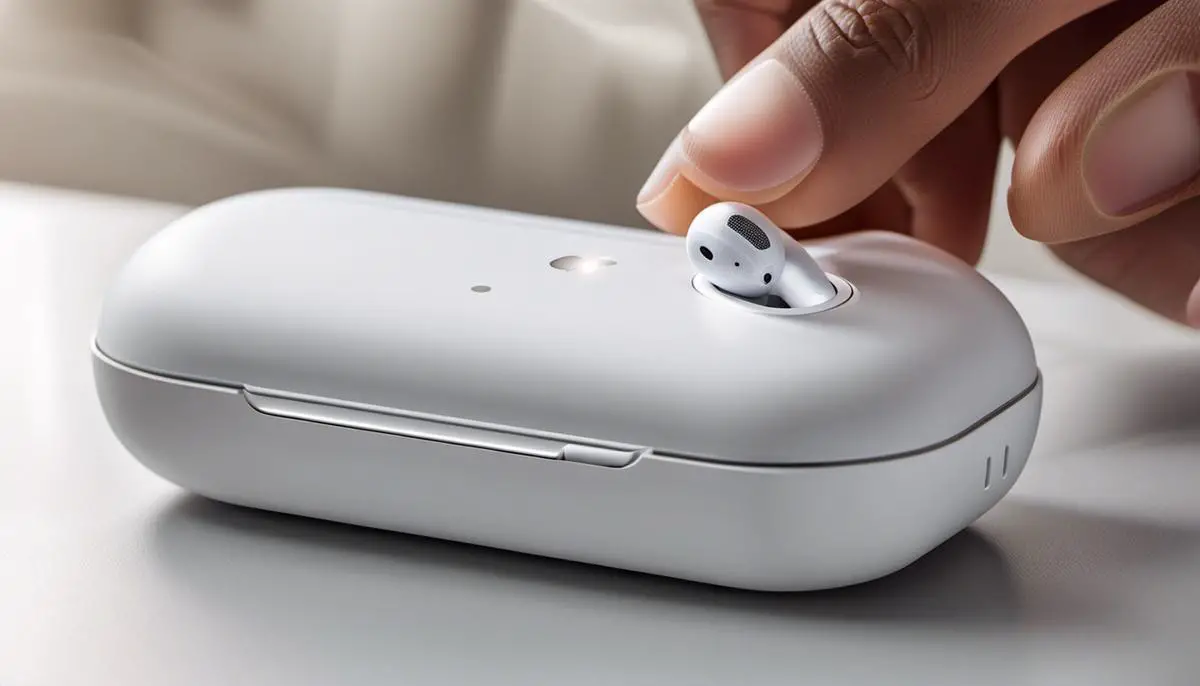
First, open your charging case and place your AirPods inside their respective left and right slots. Be sure to align the flat side of your AirPods with the flat sides of the slots.
Step 2: Watch for the Indicator
Keep a close eye on the indicator light inside the case – it’s your charging status lifeline.
Always observe a red or white light indicator inside the case to know whether your AirPods are charging correctly or not.
Step 3: Light Insights
A quick flash of white means your AirPods are ready to connect, while a solid red light means your AirPods are charging.
When the light turns off, your AirPods have been fully charged.
Addressing Potential Issues
A common problem that can cause your AirPods not to charge in their case is the presence of debris inside the charging case or AirPods.
Inspect both your AirPods and the case for any noticeable debris or dust buildup. You can clean your charging case with a soft, dry, lint-free cloth.
Note: Be careful not to get any liquid in the charging ports.
To clean your AirPods, use a soft, dry, lint-free cloth. If any dirt or debris is lodged in the speakers or microphones, gently brush it away with a clean, dry, soft-bristled brush.
Checking Charging Ports
Damaged charging ports can also interfere with your AirPods charging process. Check for any damage or debris in the Lightning connector on the bottom of the case.
If you notice any issues, try cleaning it out gently with a clean, dry, soft-bristled brush.
Related: MacBook Pro Not Charging Issue: Causes and Solutions
Ensuring Proper Lid Closure
Lastly, ensure that the lid of your AirPods charging case is closing properly. An improperly closed lid can prevent the case from charging your AirPods correctly.
Try opening and closing the lid a few times. If it doesn’t close all the way, inspect the lid for any debris or physical damages that might be preventing it from closing.
The process of aligning your AirPods, maintaining a clean charging case, inspecting the charging ports, and securing a proper lid closure will ensure your AirPods charge swiftly and effectively in your charging case.

Resetting Your AirPods
Understanding AirPods Reset
Before initiating an AirPods reset, it’s crucial to realize that this will revert your AirPods to their factory settings.
Following this, you’ll have to reconnect your AirPods to all of your devices. This reset can solve many common issues, including the AirPods not charging in the case.
Locating the Setup Button
The first step to resetting your AirPods is locating the setup button. This small, circular button is located on the back of the charging case. It’s flush with the surface of the case, so it might be hard to spot initially.
Resetting AirPods
To reset your AirPods, follow these steps:
- Open the Lid: Start by opening the lid of your AirPods charging case. Leave the AirPods inside.
- Press the Button: Find the setup button on the back of the case and press and hold it for roughly 15 seconds. The status light in the case will flash amber and then white indicating that the resetting process is underway. When the light turns white, you’ll know that the AirPods have been reset successfully.
- AirPods Reconnection: After resetting, the AirPods will no longer be paired with any of your devices. You will need to reconnect them. To do this, open the lid of the AirPods case near the device you want to pair them with and follow the prompts on your device’s screen.
Checking the Charging Issue
After you have successfully reset and reconnected your AirPods, place them back in the charging case and close the lid.
Wait a few minutes and then open the case to see if the AirPods are charging. If the LED status light shows green, your AirPods are charging.
Seeking Further Help
If the AirPods still aren’t charging, there might be a hardware issue with either the AirPods themselves or the charging case.
At this point, it’s advisable to contact Apple Support for further assistance. They may suggest additional troubleshooting steps, or if necessary, advise you on how to send in your AirPods for repair or replacement.

Troubleshooting Hardware and Software
Inspecting the Charging Cable and Plug
The first thing to check when your AirPods aren’t charging in their case is the charging cable and plug.
Start by examining the USB cable for any sign of damage such as frays, bends, or other breakages.
The lightning connector should also be free from debris or corrosion. If the cable appears damaged, it’s a good idea to try a different one.
Next, inspect the charger plug or wall adapter you’re using.
Verify it’s working properly by plugging it into a wall outlet and connecting it to another device. If there’s no charge to the second device as well, it means your charging cable might need to be replaced.
Also, always try to use the original Apple charging plug, as some third-party chargers may not be compatible.
Making Sure the Charging Case has Enough Battery
The AirPod charging case needs enough battery to charge the AirPods. If you’ve been using the case without charging it for a while, the battery may be low or completely drained.
Try plugging the case into a power source using a functioning cable and charger.
If the LEDs on the front of the case flash white or green, it indicates that the case is charging. Wait for some time and then try putting the AirPods back in the case to see if they charge.
Ensuring AirPods and Charging Case Firmware are Up to Date
Outdated software might be preventing your AirPods from charging. To update your AirPods, make sure they’re in the charging case.
Connect the case to a power source and pair the AirPods with your iOS device over Bluetooth.
If an update is available, it will be installed automatically when the device is connected to the internet.
You can verify the firmware version your AirPods are running by going to the Settings app on your iOS device. Then click on ‘General’, ‘About’, and select ‘AirPods’.
The current version should be listed under ‘Firmware Version’. Compare this with the latest version listed on Apple’s official website.
If none of the above troubleshooting steps work, you may need to have a professional look at your AirPods and case. However, these steps cover some of the most common issues and are typically enough to solve charging problems.
Conclusion
Having looked at the steps on how to understand your AirPods charging case, resetting your AirPods, and troubleshooting both hardware and software, it’s clear that dealing with the issue of AirPods not charging in the case can be handled.

J.S. is the owner, content creator, and editor at Upgrades-and-Options.com. I’ve worked in the IT and Computer Support field for over 20 years. The server hardware in my computer labs has mostly been IBM, but I’ve supported Dell, HP, and various other hardware. In addition, as part of my lab administrator responsibilities, I’ve learned, supported, and repaired/upgraded network hardware such as Cisco routers and switches. READ FULL BIO >>
- Upgrading SSD Storage in the ThinkPad X9-15 Gen 1 Aura Edition
- How Quantum Computing Could Impact Everyday Laptops
- What Is The Difference Between Lenovo’s Pens? (with Part Numbers)
- Legion 5 Laptop Upgrade Guide: Game Like a Pro
- How to Replace Your Laptop Battery: A Step-by-Step Guide
- IdeaPad Gaming 3 Upgrade (Full Specs)
- Shut Down a Lenovo Laptop: Quick and Easy
- Lenovo LOQ 15IRX9 RAM and SSD Upgrade


