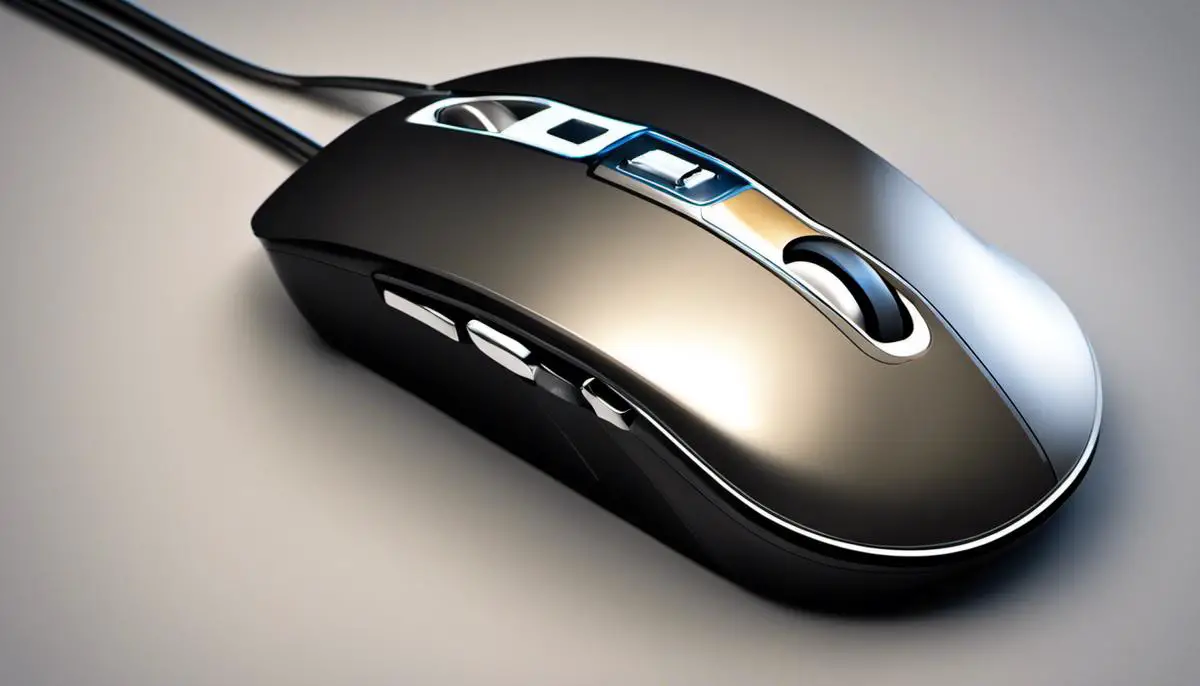
Welcome to our comprehensive guide aimed specifically at Lenovo Chromebook users facing mouse-related issues.
We understand how frustrating it can be when your device doesn’t respond as expected, disrupting your work or leisure activities. That’s why we’ve created this step-by-step guide, designed to navigate you through the process of diagnosing and fixing these common mouse problems.
Whether you’re dealing with a frozen cursor, erratic movement, or complete unresponsiveness, we’ve got you covered.
Troubleshooting Common Mouse Problems
Knowing how to troubleshoot common mouse problems can save you a lot of time and frustration. Here are some of the most frequent issues Lenovo Chromebook users encounter, along with solutions.
1. Frozen or Unresponsive Mouse:
A frozen mouse can be a major hindrance. The first step is to check if your system is responding. Try using keyboard shortcuts like Ctrl+Alt+Del.
If the system responds, the issue is likely with the mouse. Restart your Chromebook and check if the problem persists.
2. Erratic Mouse Movement:
If your mouse cursor is moving erratically or jumping around the screen, it could be due to dirt or dust on the mouse pad or an issue with the mouse driver.
Clean your mouse pad and update your drivers to see if the problem resolves.
3. Inability to Click:
If clicking is the problem, you may have a physical issue with your mouse. Try using an external mouse. If this resolves the issue, it might be time to replace your built-in mouse.
4. Mouse Pointer Disappears:
If your mouse pointer disappears, navigate to your Chromebook’s settings, select ‘Device’, then ‘Mouse and touchpad’. Adjust the ‘Mouse speed’ setting; sometimes, a quick adjustment can bring your cursor back.
Identifying Common Mouse Problems
One of the first steps to troubleshooting a non-working mouse on your Lenovo Chromebook can be to identify common issues.
These can include a loose or faulty connection, dust or debris in the mouse sensor, outdated or corrupted drivers, incorrect settings, or battery issues on wireless mice.
Inspecting Physical and Wireless Connection
Always begin by checking the physical connection of your mouse to your laptop.
This includes ensuring that the USB plug is properly inserted into the USB port. If you’re using a wireless mouse, check that the receiver is not only inserted properly but also connected to your computer. Additionally, check to see if the mouse’s battery needs to be replaced.
Cleaning Mouse Sensor
Over time, dust and debris can accumulate on the mouse sensor, potentially causing it to malfunction. You can gently clean the sensor using a soft cloth. Avoid using abrasive materials or harsh chemicals, as these can damage the sensor.
Checking and Updating Mouse Drivers
Software issues, including outdated or corrupted drivers, can often cause the mouse to stop working. To check if this is the issue, navigate to the device manager.
If the mouse drivers are outdated or corrupted, you should see an exclamation mark next to the device listing. You can right-click on this and select ‘Update Driver.’ It’s always prudent to ensure that your drivers are up to date.
Troubleshooting Mouse Settings
Another potential issue could be incorrect mouse settings. You can check this by going to Settings > Devices > Mouse.
Here, you can alter the mouse’s sensitivity, scroll speed, and other settings. Pay close attention to the Touchpad settings, as an incorrect setting there could cause your mouse to not work properly.
Related: Reviving Your Lenovo Chromebook: Solutions When It Won’t Power On
Resetting the Chromebook
If you’ve tried the above solutions and your mouse still isn’t working, you might need to reset your Chromebook.
Resetting your computer can often solve a multitude of technical issues, including those related to your mouse.
To do this, go to Settings > Advanced > Reset Settings.
Remember, issues with your mouse can often be fixed with a little troubleshooting. However, in case none of the above steps work, the problem could be with the mouse itself and you might need to replace it.
| Step | Actionable Steps |
|---|---|
| 1 | Check for dust or dirt on the touchpad. |
| 2 | Press the Esc key several times. |
| 3 | Perform a drumroll with your fingers on the touchpad for ten seconds. |
| 4 | Restart your Chromebook. |
| 5 | If using a wireless mouse, check or replace the batteries. |
| 6 | If your mouse has a switch or power button, make sure it’s turned on. |
| 7 | Reset your Chromebook if none of the above steps work. |
Also Read: What is a TrackPad: Decoding the Technology
Working with Chromebook settings
Understanding Chromebook Settings
Chromebook settings contain various options that can affect how your mouse works. Here are some elements you should understand:
- Touchpad settings: Chromebook has a specific section for “Touchpad settings”. This is where you can adjust the speed of your cursor, enable tap-to-click, and more.
- Accessibility settings: This section includes settings that may alter the usability of your mouse. For instance, there are options to automatically click when the cursor stops, use the keyboard to control the cursor, and many more.
Modifying the Chromebook Mouse Settings
Follow the given step-by-step guidelines to access and modify these settings on a Lenovo Chromebook:
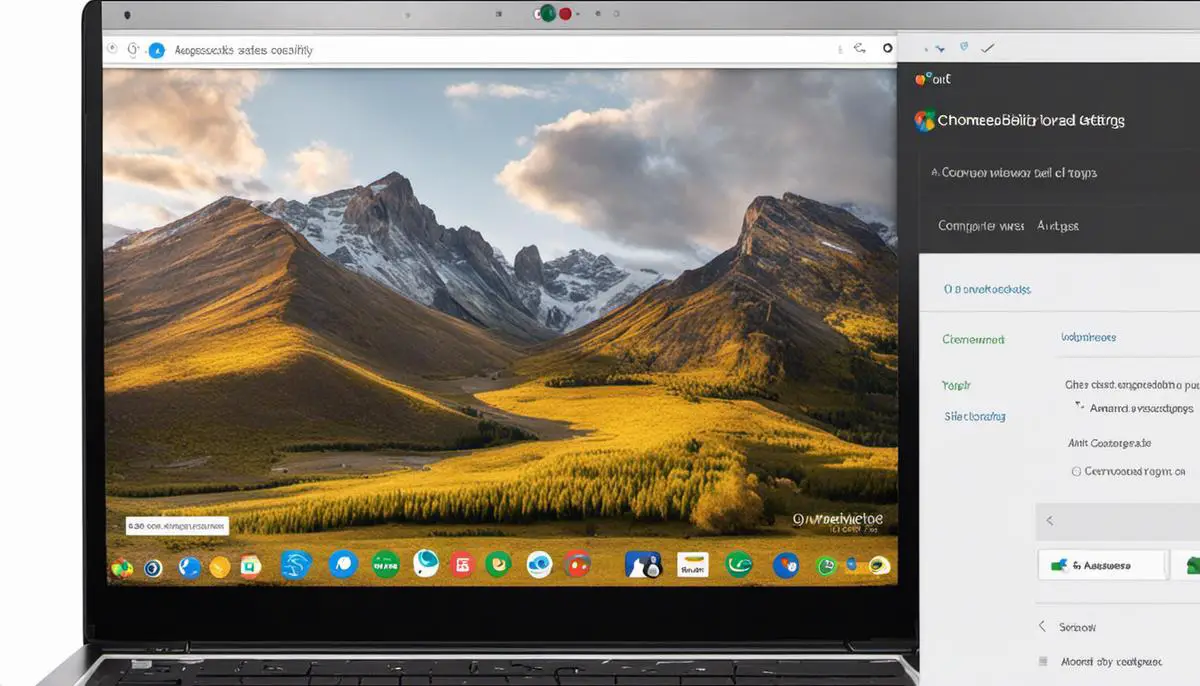
- Scroll down on your screen and select ‘Settings’: This will open the window containing all of your Chromebook’s settings.
- Navigate to ‘Device’: Here, you will find settings related to the display, keyboard, mouse, or touchpad.
- Choose ‘Touchpad’ or ‘Mouse’: Depending on whether you’re using a laptop with a touchpad or a desktop with a mouse, you’ll choose the relevant option.
- Adjust settings as needed: From here, you can adjust the mouse speed, and enable or disable tap-to-click, among others.
When you’re done making changes, simply click anywhere off the settings window to close it. The changes will be saved and take effect immediately.
Adjusting Accessibility Settings
Accessibility settings also have an impact on mouse functionality. Here’s how you can modify these settings:
- Select ‘Advanced’ in the Settings menu: This will open a new list of options.
- Go to ‘Accessibility’: This section contains features that help make your device easier to use.
- Select ‘Manage accessibility features’: You’ll see a list of all available accessibility features.
- Adjust settings as needed: Here, you can enable automatic clicks, use high contrast mode, or use the keyboard to move the cursor. Each of these settings could have an effect on how your mouse functions.
Remember, troubleshooting is often a process of elimination. You may need to try a combination of different settings before you’re able to get your mouse working properly again on your Lenovo Chromebook.
Advanced troubleshooting steps
Chrome OS Update
The issue might be with the outdated version of Chrome OS that you are using. Google often releases updates to Chrome OS, and one of these could help fix your mouse issues. In the bottom right, select the time, then select “Settings” from the pop-up menu. Under the “Google Chrome OS” section of the settings menu, there is information on the current version of your operating system. If an update is available, it will provide an option to restart your Chromebook to install it.
Performing A Hardware Reset
Sometimes hard resetting the Chromebook, which refreshes the memory that the hardware uses, may resolve the mouse issue. Before initiating such operations, it is crucial to save your unsaved work. Here is the step-by-step guide to follow:
- Confirm that your Chromebook is off. Press and hold the Refresh and Power buttons simultaneously.
- Release the two buttons when the Chromebook starts.
- Your Chromebook will reset and reboot itself.
Chromebook Recovery Utility
If your Chromebook’s mouse still isn’t working, you could try recovering your Chromebook. This will erase all information on your device and restore it to factory settings. To do this, you’ll need to use the Chromebook Recovery Utility. Here’s how:
- First, you’ll need a second device with access to the Google Chrome Browser. From this device, download the Chromebook Recovery Utility from the Chrome Web Store.
- After installing the Recovery Utility, launch the app, and follow the on-screen instructions to create a recovery drive.
- Once you’ve made the drive, connect it to your Chromebook and let the Recovery Utility do its thing.
Plug In an External Mouse
If at any point your Chromebook’s touchpad stops working, you can plug in an external mouse to navigate more efficiently. Most modern mice use USB or Bluetooth to connect, and generally, Chromebooks automatically detect and pair these external devices. If not detected, you can manually pair the device by going into your Chromebook settings, clicking on “Bluetooth,” and selecting your mouse’s name.
Remember, these are advanced troubleshooting steps and should not replace contacting a professional if you feel unsure about performing these tasks. If these steps don’t fix your problem, you should contact Lenovo support.
Also Read: Best Computer Mouse | Top 6 + Cool Comparison

Understanding the Mouse Hardware
Understanding Mouse Hardware
Understanding the actual physical components of your Lenovo Chromebook’s mouse is the first step in diagnosing and possibly fixing any issues that may arise. Here we will cover the basic functions, connecting ports, and how the mouse interacts with your system.
Components and Connections
The mouse communicates with the computer either through a physical connection like a USB port or wirelessly via a Bluetooth connection.
For a USB-wired mouse, you simply plug it into the USB port on your Chromebook. The plug-and-play functionality would typically allow your Chromebook to detect the mouse without requiring extra setup.
For a wireless mouse, the mouse needs to be paired to the system via Bluetooth.
Interaction with the System
Once connected, the mouse sends signals to your Chromebook each time it is moved, clicked, double-clicked, or scrolled.
By pressing the buttons or moving your finger on the touchpad, an electrical signal is sent through the cable (for a wired mouse) or via Bluetooth (for a wireless mouse), which tells your hardware to execute certain actions.
The cursor on your Chromebook screen moves according to the direction and distance moved by the mouse. When you click a button on the mouse, it triggers a function in the operating system, such as selecting an item or opening a file.
Understanding these components and their operation is crucial in identifying where potential issues may lie when troubleshooting a malfunctioning mouse.
Manual checks can be done to ensure that the mouse has a physical connection, that the device is properly paired via Bluetooth, and that the mouse buttons are functioning correctly.
Having knowledge of your Lenovo Chromebook’s mouse hardware can be quite helpful not only for general operation but also to help you troubleshoot during times when the mouse does not work as expected.
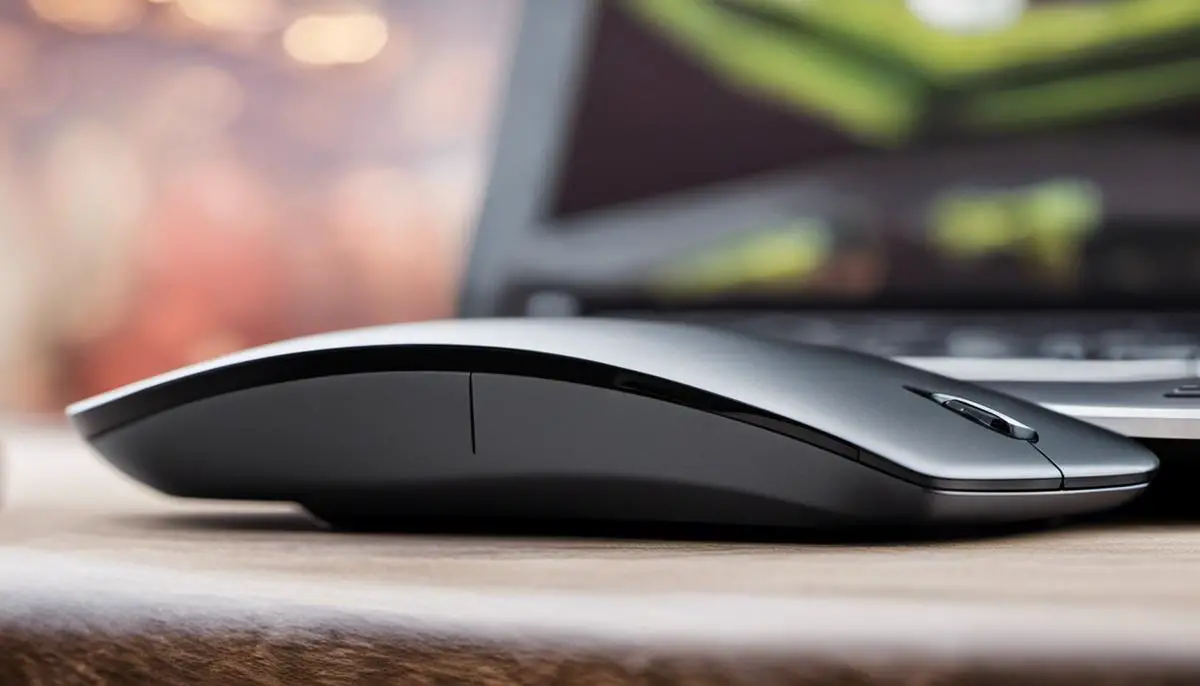
Looking for a new mouse? Check out – Top 7 Best Mice To Buy: A Comprehensive Buyers Guide
Mastering the nuances of how a Lenovo Chromebook’s mouse functions can significantly enhance your computing experience. The importance of understanding the mouse hardware, troubleshooting its common problems, working with the Chromebook’s settings, and advanced troubleshooting steps cannot be overstated. With this knowledge, hobbyists and enthusiasts can effectively steer clear of potential operational issues and navigate with ease and efficiency. Remember, a functioning mouse is a vital implement in your tech toolbox, and having the ability to fix any disruptions independently ensures a seamless digital journey.

