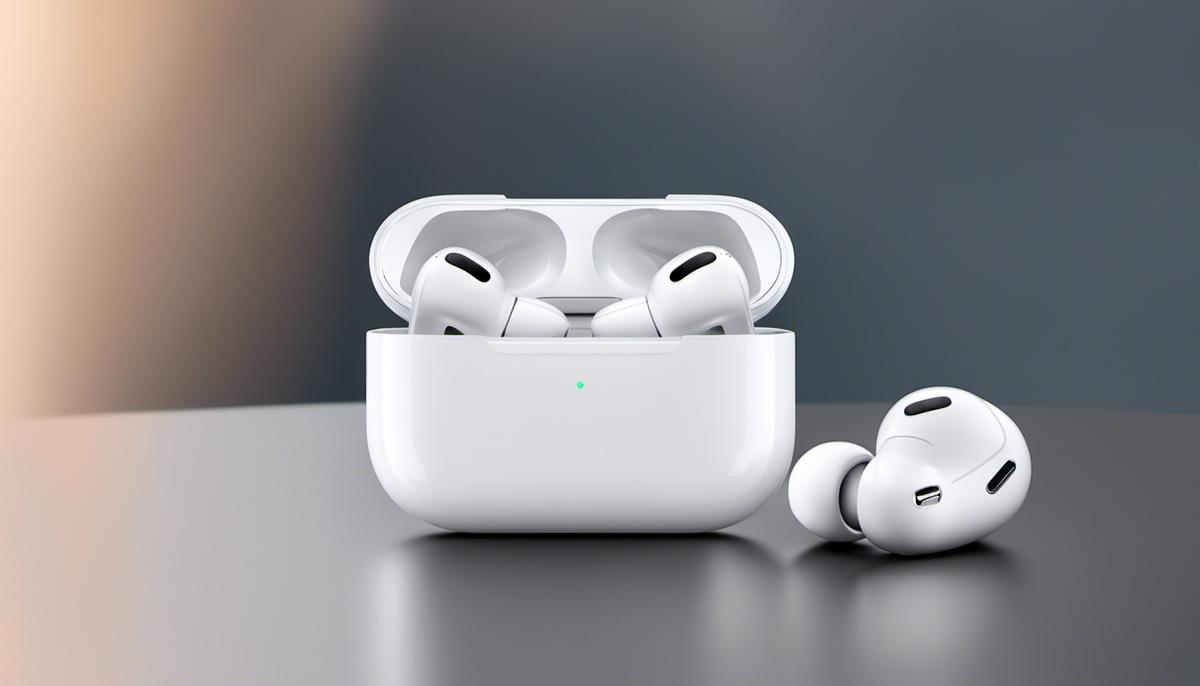
Unlock the Full Potential of Your AirPods Pro
Are you ready to take your AirPods Pro experience to the next level? Whether you’re a new owner or a seasoned user looking to harness the full power of your wireless earbuds, you’ve come to the right place. Welcome to our comprehensive guide on mastering AirPod Pro controls.
In a world where convenience and sound quality go hand in hand, Apple’s AirPods Pro stand out as true game-changers. These sleek earbuds not only deliver exceptional audio but also come packed with a range of intuitive controls and features. From noise-cancelling magic to seamless device switching, your AirPods Pro can do it all.
But here’s the catch: to truly unlock their potential, you need to know how to wield these controls effectively. That’s where we come in. In this guide, we’ll take you on a journey through every aspect of AirPod Pro controls, settings, and functionalities. By the time you finish reading, you’ll be confidently navigating your AirPods Pro like a pro.
Understanding AirPod Pro features
The AirPods Pro are designed with several notable features that enhance user experience. Let’s delve into these functionalities:
Effortless Control Through iOS Devices
Users can experience remarkable control of their AirPod Pros through their iOS devices. Here’s how you can master the controls:
- Access the Control Center: Swipe down from the top right corner (iPhone X and later) or swipe up from the bottom of the screen (iPhone 8 and earlier) to open the Control Center on your iOS device.
- Locate the Volume Slider: Once in the Control Center, find the volume slider.
- Manage Modes: Press and hold the volume slider. This will open up options to manage your AirPods Pro modes.
- Active Noise Cancelling: Select this for an immersive audio experience where external noise gets significantly reduced.
- Transparency Mode: Opt for this mode when you want to stay tuned in to your surroundings while still enjoying your audio.
- Off: Choose this option to disable both the Active Noise Cancelling and Transparency Mode.
With just a few taps on your iOS device, you can effortlessly control your AirPods Pro’s features.

Also read: Maximize Your AirPods Battery Life: Simple Tips & Tricks
Seamless Control on Mac
Operating your AirPods Pro on your Mac is just as straightforward as it is on an iOS device. The user-friendly interface ensures a seamless experience. Here’s a more comprehensive step-by-step guide:
- Access the Menu Bar: Click on the volume icon present on the menu bar.
- Open the Output Device List: Once you’ve clicked on the volume icon, it will present a drop-down list of output devices.
- Select AirPods Pro: Locate and select your AirPods Pro from the list.
- Manage Modes: After selecting the AirPods Pro, you will see an option to switch modes.
- Active Noise Cancelling: Opt for this to enjoy an immersive audio experience, eliminating external noise.
- Transparency Mode: Choose this mode when you prefer to be aware of your surroundings while listening to your audio.
- Off: Select this option to turn off both Active Noise Cancelling and Transparency Mode.
- Locate Volume Control: On the top-right section of your screen, you’ll find the menu bar. Look here for the volume control icon, which looks like a small speaker.
- Select AirPods Pro: Click on the volume control icon. A drop-down menu will appear, displaying a list of audio output devices. From this list, select your AirPods Pro.
- Manage Modes: Upon selecting your AirPods Pro, you’ll be presented with several options for managing your listening modes. These include Active Noise Cancelling, Transparency Mode, and Off.
By following these steps, you can make sure you’re getting the most out of your AirPods Pro while using your Mac. The process is designed to be easy, ensuring you can quickly switch between modes and customize settings to suit your preferences.
Customizing Noise Control Modes
With AirPods Pro, you can easily tailor your listening experience to your needs.
The Active Noise Cancelling feature allows you to block out external noise to enjoy your audio uninterrupted. Conversely, the Transparency Mode ensures you’re not entirely cut off from your surroundings, letting in just enough ambient noise.
You can switch between these modes or turn both off entirely, depending on your requirements, making the AirPods Pro truly versatile.
Customizing the noise control modes on your AirPods Pro can significantly enhance your listening experience. Here is a comprehensive guide on how you can do it:
Active Noise Cancelling:
- Put both AirPods in your ears.
- Press and hold the force sensor on the stem of either AirPod until you hear a chime. This indicates that Active Noise Cancelling is now on, enabling you to enjoy an immersive listening experience with reduced ambient noise.
Transparency Mode:
- With both AirPods in your ears, press and hold the force sensor on the stem of either AirPod.
- Stop pressing when you hear a chime. This indicates that Transparency Mode is on, allowing you to hear some ambient noise and stay aware of your surroundings while enjoying your audio.
Switching Off Both Modes:
- While wearing both AirPods, press and hold the force sensor on the stem of either AirPod.
- Release when you hear a chime. This indicates that both Transparency Mode and Active Noise Cancelling are off, allowing you to listen to audio without any noise control.
Remember, it’s essential to familiarize yourself with the force sensor on your AirPods Pro to maximize your listening experience.
This tiny but powerful tool is located on each AirPod’s stem and is used for controlling playback and switching between noise control modes.
Using the Control Center on Your iOS Device
You can also control your AirPod Pros through the Control Center on your iOS device.
- By opening the Control Center and holding down on the volume slider, you can turn Active Noise Cancelling and Transparency Mode on or off without needing to touch your AirPods.
You can even select the “Off” option to turn off both the Active Noise Cancelling and Transparency Mode entirely.
Input Settings for Mac Users
If you’re using your AirPod Pros with a Mac, you can manage these features through the volume control in the menu bar.
- Click on the volume icon, then select your AirPods.
- From there, you can choose between Active Noise Cancelling, Transparency Mode, or turning both modes off completely.
Whether it is immersing yourself in your audio with Active Noise Cancelling or staying in touch with your surroundings with Transparency Mode, the AirPod Pros can be customized to suit an array of audial needs.
Also read: Troubleshooting AirPods Not Charging in Case

Learning to Use Touch Controls
Understanding the Function of the AirPod Pro Controls
The AirPod Pro comes equipped with a number of built-in controls on the stem of each individual earpiece, designed to facilitate a seamless user experience.
The multi-functionality of these controls allows you to play or pause your music, skip tracks, and activate Siri, without having to access your device directly.
Controlling Playback
Playback includes different controls, like play, pause, and skipping tracks.
- To play or pause your music, simply press the force sensor on the stem of your AirPod Pro once.
- You can double-press the force sensor to skip forward to the next track. Alternatively, pressing the sensor three times allows you to skip to a previous track.
Activating Siri
The stem of the AirPod Pro can also be used to activate Siri, Apple’s voice assistant.
- To do this, press and hold the force sensor on the stem of your AirPod Pro until you hear a chime signaling that Siri has been activated.
It’s important to note that this can also be used to decline incoming calls if held longer.
Switching Between Noise Control Modes
The AirPod Pro offers customizable noise control options, allowing you to toggle between two modes: Active Noise Cancellation and Transparency mode.
Active Noise Cancellation reduces outside noise, while Transparency mode enables you to hear ambient sounds more clearly.
- To switch between these modes, press and hold the force sensor on the stem of your AirPod Pro until you hear a short chime, indicating that you have successfully switched modes.
Safety Note: When using AirPod Pros in a setting where it is important to be aware of your surroundings, it is recommended to use Transparency mode.
Additional Tips
It can be helpful to practice using your AirPod Pro controls in a calm, quiet setting before venturing out into noisier environments.
This will help you to become accustomed to the touch and responsiveness of the controls, and fully utilize the immersive, high-quality audio that the AirPod Pro offers.

Configuring your AirPod Pros settings
Configuring Your AirPod Pros Settings
To begin, sync your AirPod Pros with your iPhone or iPad. Follow these steps:
- Open settings and select Bluetooth.
- Ensure that your AirPod Pros are connected.
- Once successfully connected, tap the ‘i’ next to them on the screen.
This will reveal various customization options for your AirPod Pros settings.
In addition to the already mentioned settings, there are a few more tweaks you can make to customize your AirPod Pro experience:
Adjusting Microphone Settings:
By default, your AirPod Pros will automatically switch the microphone from one AirPod to the other based on which one is picking up your voice better. However, you can set a specific AirPod to always act as the microphone. To do so:
- In the AirPod Pro settings, tap on ‘Microphone’.
- Select ‘Always Left AirPod’ or ‘Always Right AirPod’.
Remember, setting a specific AirPod as the microphone may reduce battery life slightly.
Renaming Your AirPod Pros:
The AirPod Pros come with a pre-set name, usually, your first name followed by ‘AirPods’. However, you can rename them to something more distinctive or personal if you prefer. To do so:
- In the AirPod Pro settings, tap on ‘Name’.
- Enter your preferred name for your AirPods and hit ‘Done’.
Remember, the name you choose will be visible to others when sharing audio or receiving a call.
As with all electronic devices, ensure your AirPod Pros are updated regularly to access new features and maintain optimal performance.
Adjusting Press Speed and Press and Hold Functions
Once in the settings for your AirPod Pros, you’ll see an option for “Press Speed.”
- Tapping on this will take you to a new screen with three options: Default, Slow, and Slowest. Choose the one that’s most comfortable for you.
Under the “Press and Hold” section, you can select which AirPod responds to this action—either the right one, the left one, or both.
After choosing this, you will see two options: Noise Control and Siri.
If you select “Noise Control,” you can choose between noise cancellation and transparency.
If you select “Siri,” your AirPods will summon Siri when you press and hold. You can also opt to switch off the press and hold function altogether.
Testing the Fit of Your AirPods Pros
It is vital to ensure your AirPods fit correctly for optimal sound quality.
- To do this, go to the settings of your AirPods on your device.
- You will see an option labeled “Ear Tip Fit Test.”
By selecting this and running the test, your device will play a short snippet of music.
It will then use the built-in microphones of your AirPod Pros to analyze the sound in your ears and determine if the current ear tips are the right size and fit.
- The system will then give you a result—either a “Good seal” result which means that your current ear tips are the right fit, or a “Adjust or try a different ear tip” result, which suggests that you need to adjust the placement of the AirPod in your ear or switch to a different size ear tip for a better fit.
Keep in mind that repetitive testing is encouraged to ensure an optimal fit and sound quality.
Customizing Additional Features
Other features that you can customize within your AirPod Pros settings are the “Automatic Ear Detection” and the “Microphone.”
- The “Automatic Ear Detection” feature senses when the earbuds are in your ears and automatically plays or pauses your music accordingly.
On the other hand, the “Microphone” setting allows you to choose which AirPod’s mic to use when making a call or talking to Siri—if set to Automatic, either one can be used, but if set to Always Left or Always Right, only the respective AirPod’s mic will be activated.

Pairing and Switching between Devices
Pairing Your AirPods Pro with Your Device
The first step to using your AirPods Pro with any device is to pair them. Follow these steps:
- Open the charging case, keeping the AirPods inside, and hold it near your device.
- A setup animation should appear on your device’s screen.
- Tap “Connect” then “Done.”
- If you can’t see the setup animation, press and hold the button on the back of the case until the LED light on the front of the case starts flashing.
- Open the Bluetooth settings on your device, look for your AirPods Pro in the list of available devices, and tap to connect.
This process should be similar for iPhone, iPad, Mac, and Android devices, but be aware that your AirPods Pro must be connected to an iCloud account to use all features.
Switching Between Devices
After your AirPods Pro are paired with your devices, you can easily switch between them. Here’s how to do it:
For iPhone and iPad:
- Go to the Control Center by swiping down from the top right of your screen or up from the bottom of the screen (depending on your iPhone model).
- Press and hold the audio card.
- Tap the AirPlay icon, then choose your AirPods Pro.
For Mac:
- Click the volume control in the menu bar on your Mac.
- Select your AirPods Pro.
For Apple or Android TV:
- Open the settings on your TV.
- Choose remotes and devices, then Bluetooth.
- Select your AirPods Pro from the list.
For Android devices:
- Open your device settings.
- Tap “Bluetooth”, then “Audio” devices.
- Choose your AirPods Pro from the list.
Remember, your AirPods Pro can only be actively connected to one device at a time, but they will remember devices you have paired with before, making it faster to switch between them.
Understanding Automated Device Switching
With the introduction of iOS 14, Apple unveiled a new feature called automatic device switching.
This feature allows your AirPods Pro to seamlessly switch between different Apple devices registered under the same iCloud account, based on your usage.
For example, if you’re listening to music on your Mac and you receive a call on your iPhone, your AirPods Pro will automatically switch from your Mac to your iPhone when you answer the call.
To enable automatic switching:
- Go to the settings menu on your iPhone.
- Scroll down and tap on ‘Bluetooth’.
- Find your AirPods Pro in the list and tap on the info button to the right of their name.
- Scroll down to ‘Connect to This iPhone’ (or iPad, if you’re using an iPad).
- There are two options available: ‘Automatically’ and ‘When Last Connected to This iPhone’. Select ‘Automatically’.
Please note that for this feature to work, all devices should be updated to at least iOS 14, iPadOS 14, or macOS Big Sur. Furthermore, automatic device switching works with iPhone 8 or later, iPad Pro 12.9-inch (2nd generation) or later, iPad Pro 11-inch, iPad Pro 10.5-inch, iPad (5th generation or later), iPad Air (3rd generation), iPad mini (5th generation), or iPod touch (7th generation) or later.
Remember, the automated switching feature is designed to make your listening experience more effortless. However, if you find it less convenient, you can easily disable this feature by following the steps above and selecting ‘When Last Connected to This iPhone’.
Note: If you’re using an iPhone, iPad, or Mac and all devices are signed in to iCloud with the same Apple ID, you can use the automatic device-switching feature. Your AirPods Pro will automatically switch to the device you’re currently using, but you can always manually select your AirPods Pro as the audio output for any device as described in the steps above.

Conclusion
In conclusion, mastering the AirPods Pro controls can significantly enhance your listening experience, making it more personalized, fluid, and convenient.
By understanding how to optimize the ear tip fit, customize key features such as ‘Automatic Ear Detection’ and the ‘Microphone’, and effectively pair and switch between devices, you can tap into the full potential of your AirPods Pro.
Equally important is understanding the automated device-switching feature, which, when used right, can make your experience with Apple devices more seamless. Nevertheless, like any technology, the best way to truly become proficient is through regular experimentation and use.
- Best Laptops for AI and Machine Learning
- Upgrading SSD Storage in the ThinkPad X9-15 Gen 1 Aura Edition
- How Quantum Computing Could Impact Everyday Laptops
- What Is The Difference Between Lenovo’s Pens? (with Part Numbers)
- Legion 5 Laptop Upgrade Guide: Game Like a Pro
- How to Replace Your Laptop Battery: A Step-by-Step Guide
- IdeaPad Gaming 3 Upgrade (Full Specs)
- Shut Down a Lenovo Laptop: Quick and Easy
