There is nothing quite as worrisome for a technology enthusiast or hobbyist as facing a situation where your Asus Chromebook simply won’t turn on.
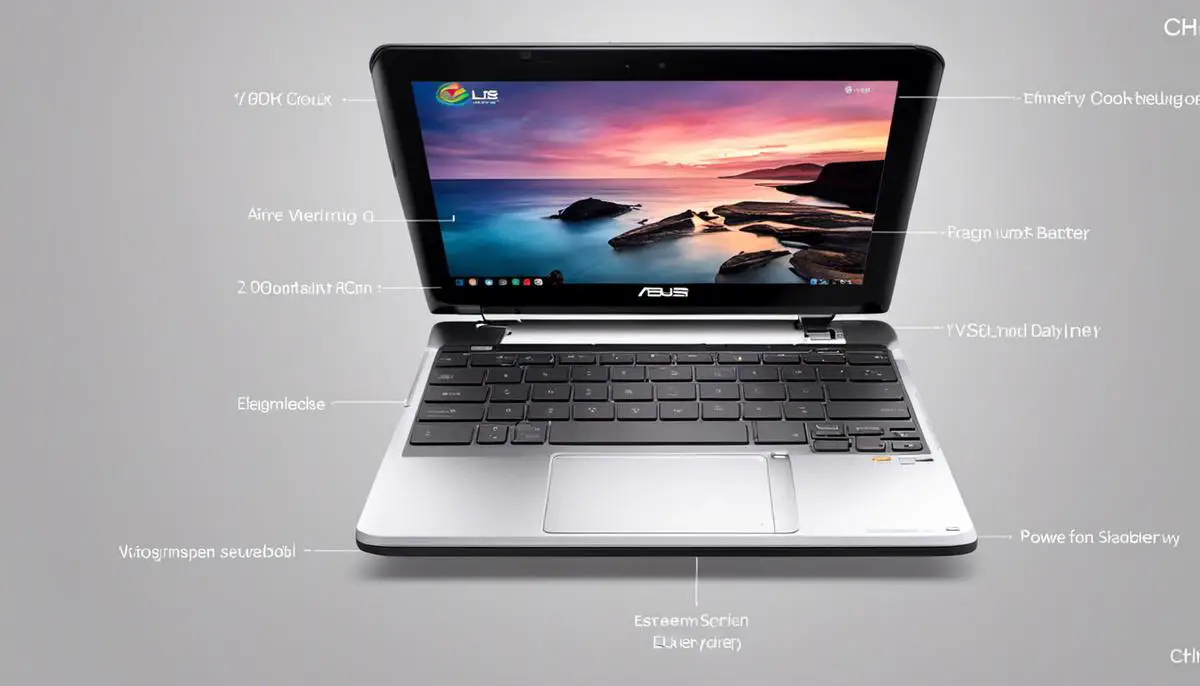
In this detailed guide, we will be getting better acquainted with the intricate structure of the Asus Chromebook, from its power button to its charge port, even down to its screen display.
We’ll explain the common power issues one might face and the respective solutions. Furthermore, we will journey through the important process of resetting hardware, verifying the AC adapter, and understanding the power source.
Understanding Asus Chromebook Structure
Understanding the Power Button Function
The power button on your Asus Chromebook initiates the computer’s startup process when pressed.
It sends a signal to the system to boot up and engage all necessary hardware and software processes. If the power button is damaged or not functioning properly, it may inhibit your Chromebook from turning on. It’s usually located on the side or top of the Chromebook.
Knowing the Battery Functionality
The battery of the Asus Chromebook provides the necessary power for the device to function. If the battery is dead, not properly installed, or faulty, the Chromebook won’t turn on even when the power button is pressed.
It is important to regularly check the battery’s health and charging status to ensure it is functioning correctly.
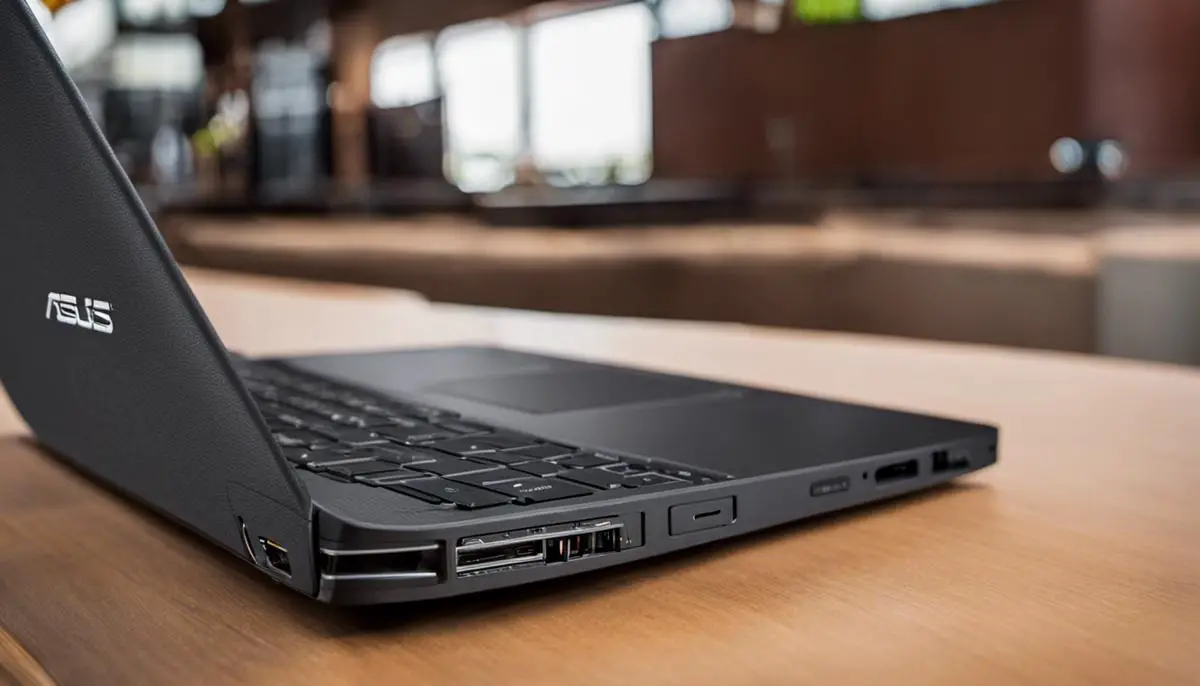
Understanding the Charger Port Operation
The charger port on your Asus Chromebook is where the power adapter plugs in to charge the battery.
This port should always be free of debris and damage to ensure the power adaptor can properly connect and deliver power. If the charger port is damaged, it may prevent the battery from charging, which directly affects the device’s power-up process.
Importance of Screen Display
The screen display on your Asus Chromebook is essential as it provides visual feedback to the user.
If the device’s power is operational but the screen display is damaged or malfunctioning, it might seem that the Chromebook won’t turn on even though it might be running.
Understanding how the screen should respond when the power button is pressed can help in assessing whether the device is off or just the screen is at fault.
Accommodating the Components’ Operation
Being familiar with these components and their operation is key to understanding when something goes wrong.
Any issue with these primary components could result in a scenario where your Asus Chromebook won’t turn on. If you learn how they should operate under normal conditions, you’ll be able to diagnose and possibly resolve issues on your own.
Also Read: Maximizing Your ASUS Performance: A Comprehensive Guide to BIOS Updates
Checking for Physical Damage
While understanding the basic structure and functions of your Asus Chromebook, it is also crucial to regularly inspect your device for any physical damage. This includes but is not limited to cracks, loose or missing buttons, damaged ports, or swollen batteries. Physical damage can often be a clear indicator of underlying issues that may be preventing your Chromebook from turning on as expected.
Troubleshooting Power Issues
Diagnose the Battery
The first possibility to consider is that your Asus Chromebook’s battery might be out of charge or defective.
To check if this is the problem, try plugging in the charger.
If the charging light doesn’t turn on, it means the battery is not charging.
In this case, the battery might need to be replaced. If the charging light turns on, give it some time to charge before attempting to power on the device again.
Check the Charger
If you have verified that the battery isn’t the issue, inspect the charger.
A faulty charger could prevent your laptop from powering on or charging properly.
Firstly, scrutinize your charger for signs of physical damage such as frayed wires or bent plugs. If it appears physically sound, test the charger with another device to ensure it is working. Otherwise, you might need to replace it.
Perform a Hard Reset
Assuming the battery and charger are not the problem, the reason your Asus Chromebook won’t turn on might be due to a software glitch.
This can be resolved by performing a hard reset. To do this, unplug the charger, press and hold the power button for about 15 seconds, then plug the charger back in and try turning on the device.
Inspect the Power Button
If you still can’t turn on your Chromebook, the power button might be the issue.
Inspect it carefully. If the button seems stuck or doesn’t feel like it’s clicking, it could be broken. You might need to get it repaired.
Also Read: ASUS Touchpad Not Working | Windows 11/10 Fixes
Internal Hardware Malfunctions
If none of the above steps have worked, the problem could be due to an internal hardware malfunction.
This could range from a damaged motherboard to a failed hard drive. In this case, it is recommended to contact Asus Support or take your laptop to a certified technician for repair.
Remember, diagnosing the problems accurately is crucial to fix the problem effectively. When dealing with hardware issues, it’s always best to get professional help to avoid damaging your device further.

Resetting the Hardware
Identify the Problem
Before you undertake any measures to reset the hardware, it’s crucial to verify that the power issue is not due to easily fixable problems. Check to see if the charger is properly plugged in, both into the Chromebook and the wall outlet. Sometimes, the issue might simply be with the power cable. Try using a different power cable, if available, to see if your Chromebook powers up.
Perform a Hard Reset
If your Asus Chromebook still won’t turn on, you can try a hard reset. This does not erase any data from your device; it simply resets the hardware settings that might be causing the issue. Here is how you do it:
- Disconnect any additional devices connected to your Chromebook such as USB drives, SD cards, or headphones.
- Make sure your Chromebook is turned off.
- Hold down the “refresh” button (usually located at the top of the keyboard) and the power button simultaneously for about 10 seconds.
- Release both keys at the same time.
- Your Chromebook should start on its own, if not, press the power button again to turn it on.
Conduct a Powerwash
If the above steps fail to restore functionality, a “Powerwash” might help. Powerwash is a factory reset that will erase all local data. Before conducting a powerwash, ensure that all vital data is backed up since this process will erase all information from your Chromebook. After your essential data is safeguarded, follow these steps:
- Sign out of your current Google account on your Chromebook.
- Press and hold “Ctrl + Alt + Shift + r” simultaneously on the keyboard.
- In the box that appears, click “Restart”.
- After your Chromebook restarts, sign in using your Google account credentials.
- You’ll notice the option for “Powerwash”; choose this, then select “Continue”.
- Wait for the Powerwash to finish and your Chromebook to restart. Once complete, your device should behave like it’s new, allowing you to set it up again.
Seek Professional Help
If attempting these methods doesn’t solve the issue, it is recommended to reach out to Asus customer service or a qualified technician. There could be internal hardware issues that only a professional could assess and fix.
Verifying AC Adapter and Power Source
Check Your Chromebook’s Battery Percentage
The first step in verifying the AC adapter and power source is to check your Chromebook’s battery percentage. This can quickly be done by hovering over the battery icon at the bottom right corner of your screen, next to the clock. If your battery percentage is low or at zero, it could mean that your adapter is not providing sufficient power.
Test Your AC Adapter
Identifying problems with the AC adapter is another crucial step. Start by unplugging it from both your Chromebook and the power source, then plug it back into the power source first, followed by your Chromebook. Make sure all connections are firm and secure.
Next, check the light on the AC adapter. If lit, it shows the adapter is receiving power. If not, try changing the outlet. If the light still doesn’t come on, your AC adapter may be faulty.
Verify Your Power Source
After testing your AC adapter, it’s important to verify your power source. Output voltages from wall sockets can fluctuate, and a sudden hike or drop could mean that your AC adapter or Chromebook won’t receive the right amount of power.
Start by unplugging your AC adapter from the current power outlet and trying a different one. If your Chromebook turns on with a different outlet, it’s likely the previous outlet is not delivering enough power.
Try a Different Charging Port
Some Asus Chromebooks are equipped with more than one charging port. If your Chromebook isn’t turning on, switch to a different charging port. A faulty or clogged USB port may prevent an accurate connection.
Make sure the ports are free of dust or debris before connecting your AC adapter. If trying a different charging port solves the problem, you may need to clean or fix the ports on your Chromebook.
Remember, if none of these steps work, the problem may not be your power source or AC adapter. You could have a more severe issue with your Chromebook’s motherboard or charging circuits, in which case it would be best to contact Asus’ customer service or take your device to a technician.
Contacting Asus Support
Collecting Required Information
Before reaching out to Asus support, gather all the necessary information about your Chromebook to facilitate easier and faster handling of your issue. This includes details like the model number, serial number, and the date of purchase. Usually, these details can be found on the original box or the receipt of purchase. If you have registered your product with Asus, these details will also be in your product registration information.
Understanding Asus Warranty
As a product owner, it’s crucial to familiarize yourself with the Asus warranty policy. Usually, Asus products come with a warranty that covers manufacturing defects for a certain period after purchase. The standard warranty period for Asus products is one year, but the warranty period might differ for some products or in some countries. Asus warranties do not cover damages arising from attempts to repair the Chromebook by unauthorized personnel, misuse, or natural disasters.
Contacting Asus Support
Once you have your warranty and product details on hand, you can reach out to Asus support. You can contact them by phone, email, or live chat. The Asus website has a “Contact Us” page from where you can access support options, including customer service, technical support, and warranty claims. Note down the details of your issue with your Chromebook not turning on like when the issue started, what steps you’ve taken to resolve it, error messages if any, etc. The more precise the details, the easier it is for support to diagnose your problem.
Next Steps with Asus Support
When you contact Asus support, provide the necessary product details upfront and describe your issue in detail. They might be able to offer you some troubleshooting steps that you may not have tried yet. If they cannot resolve the issue over the call or chat, they may schedule a repair or replacement under the warranty (if your Chromebook qualifies). They will guide you through the necessary steps, including shipping the device to them if required. Keep a note of any case numbers, communication details, or promises made by the team for future reference.
Together, we’ve dived deep into the structure of your Asus Chromebook, dissected common power issues and their solutions, explored hardware reset techniques, and the verification of your AC adapter and power source. This concise guide not only gives us fixes but also enhances our understanding of how our beloved machine works, ultimately making us more informed and equal partners in our tech journey. Nevertheless, if all strategies fail, don’t fret. This guide has equipped you with the knowledge to confidently get in touch with Asus Support and navigate that space effectively. So the next time your Asus Chromebook refuses to power on, you’ll know just how to bring it back to life!

J.S. is the owner, content creator, and editor at Upgrades-and-Options.com. I’ve worked in the IT and Computer Support field for over 20 years. The server hardware in my computer labs has mostly been IBM, but I’ve supported Dell, HP, and various other hardware. In addition, as part of my lab administrator responsibilities, I’ve learned, supported, and repaired/upgraded network hardware such as Cisco routers and switches. READ FULL BIO >>
