Today, we are tackling a common, yet sometimes daunting task – replacing the hard drive on your Lenovo Flex 2-14 laptop.
With over two decades of hands-on experience in system repairs and upgrades, I can smoothly guide you through the process.
Whether you’re dealing with a failing hard drive or you’re simply seeking to upgrade your storage capacity, you’ve come to the right place.
Before we jump in, make sure you have your toolkit ready. Remember, this isn’t just a technical guide, it’s an adventure into the belly of your beloved machine. Let’s gear up and dive in.
- Understanding the Benefits: Why Upgrade Your Hard Drive?
- Before You Start: Tools and Safety Measures
- Step-by-Step Guide to Hard Drive Replacement
- Post-Replacement Steps: Initial Setup and Optimization
- Understanding the Lenovo Flex 2-14 laptop structure
- Troubleshooting Common Issues
- Final Thoughts and Reflections on the Replacement Process
- Links to Related Sources
THIS POST MAY CONTAIN AFFILIATE LINKS. As an Amazon Associate, I earn from qualifying purchases. PLEASE READ MY DISCLOSURE FOR MORE INFO.
Understanding the Benefits: Why Upgrade Your Hard Drive?
Upgrading the hard drive in your Lenovo Flex 2-14 laptop can significantly enhance your device’s performance in a multitude of ways. Firstly, increased storage space allows for greater data capacity, so you can store more software, files, and applications.
Also, if you’re upgrading from a traditional hard drive to an SSD, you’re likely to experience faster boot times, quicker file transfers, and an overall snappier performance, transforming the laptop experience from sluggish to slick.
This guide is designed to steer you through the process of your hard drive upgrade, deconstructing the seemingly complex task into manageable steps.
We’ll discuss the tools needed, preparing your laptop, understanding your device’s structure, the actual replacement steps, post-replacement setup, and troubleshooting common issues. The objective is to empower you with the knowledge to upgrade your hard drive confidently and effectively.
Before You Start: Tools and Safety Measures
To ensure a smooth process ahead, let’s first gather the necessary tools and understand some crucial safety measures. It’s always wise to be prepared, and trust me, having everything at your disposal does wonders in reducing potential stress points.
Tools Needed:
- A Phillips-Head Screwdriver: The screws on the Lenovo Flex 2-14 are standard Phillips-head screws. You can get a quality screwdriver set from a local hardware store or an online marketplace like Amazon.
- A Plastic Pry Tool: This will be used to safely separate the components without damaging them. You can find one in a standard mobile/laptop repair toolkit. If you don’t have one, a guitar pick or a similar plastic object could serve as an impromptu pry tool.
- A New Hard Drive: Upgrade to a larger HDD or even better, to an SSD. Reliable online retailers like Amazon, Newegg, or the official Lenovo website sell compatible hard drives. Check out: Crucial MX500 2TB 3D NAND SATA 2.5 Inch Internal SSD, up to 560MB/s from Amazon.(affiliate link)
- ESD-Safe Mat (Optional): An anti-static or ESD-safe mat can prevent potential damage from static electricity. It’s not compulsory, but it’s a good investment if you plan on making regular hardware modifications.
Safety Precautions and Preparation:
- Backup Your Data: Before you start, make sure you’ve backed up all important data. This process shouldn’t erase your data, but it’s always better to be safe than sorry.
- Disconnect Power: Unplug the laptop from the power socket and power it down completely. This reduces the risk of electrical shock and component damage.
- Work in a Clean, Well-Lit Area: Having a clean workspace reduces the risk of losing small parts, and good lighting will help you see everything.
Backup Data Before Hard Drive Replacement
Before you start removing the old hard drive, ensure you have backed up all your data as it is crucial to preventing data loss. You can back up your data to an external hard drive or use a SATA to USB adapter to migrate your data to the new hard drive before installation.
Remember, your safety and the safety of your device are paramount. Following these steps will not only ensure a safe work environment but will also provide a solid foundation for the upcoming task.

Step-by-Step Guide to Hard Drive Replacement
Let’s embark on the main event – replacing the hard drive. Don’t worry, I’ll be guiding you through each step, providing real-life examples from my own experiences.
- Remove the Screws: Turn your Lenovo Flex 2-14 laptop upside down. You’ll notice small screws(6mm) along the side on the bottom. Using your Phillips-head screwdriver, carefully remove these screws and keep them in a safe place. In my case, I prefer using a small tray to prevent losing any tiny parts.
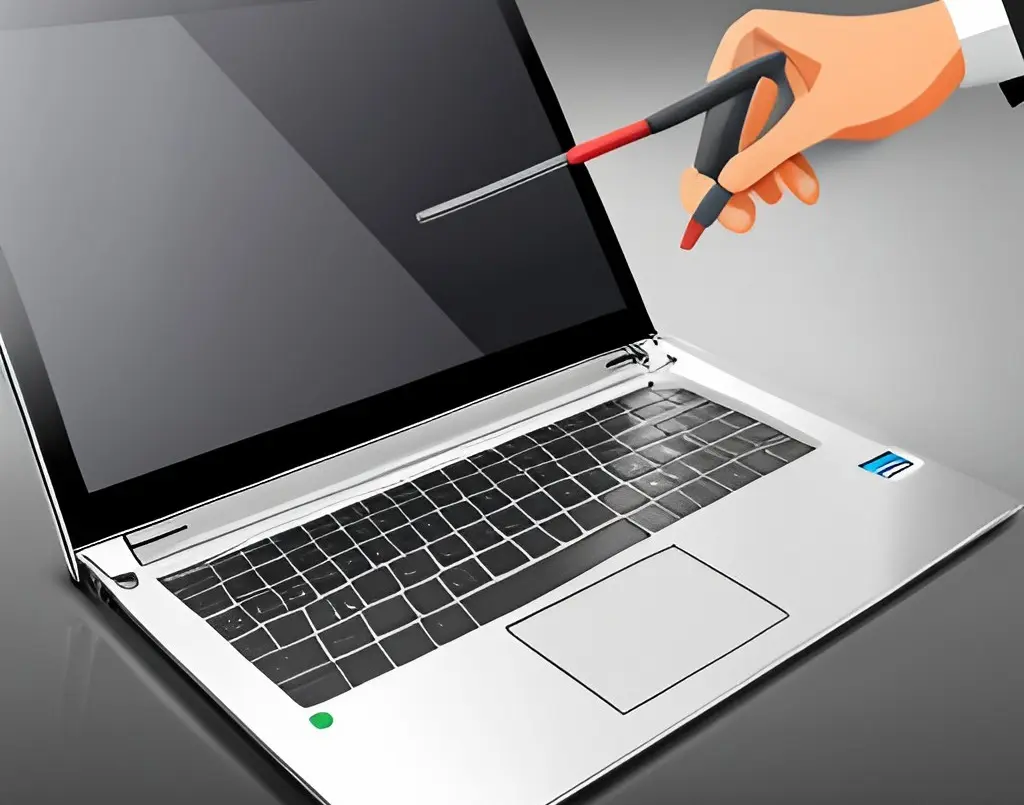
- Pry Open the Keyboard: Once the screws are removed, gently insert your plastic pry tool (or guitar pick if that’s what you’re using) between the keyboard and the surrounding laptop body. Then, lift the keyboard a little. Detach the keyboard connector cable from the slot, and remove the keyboard. I remember my first time – it felt a bit like cracking open a giant techno-oyster.
- Remove Keyboard Tray: Unscrew the 5 screws holding the tray in place. This allows you access to the internal components.
- Locate the Hard Drive: With the keyboard off, you’ll see the laptop’s internal components. The hard drive is typically located near the lower left center, looking like a small metal box.
- Remove Hard Drive: There will be a few more screws securing the hard drive. Remove these screws and gently lift the hard drive out of its slot. Be mindful – the hard drive is still connected to the motherboard by a small cable.
- Disconnect the Cable: Carefully disconnect the cable attaching the hard drive to the motherboard. When I did this, I found it useful to use a pair of tweezers for a more accurate grip.
- Install the New Hard Drive: Now, connect the cable to your new hard drive and gently place it into the slot. Screw it back into place.
- Put Everything Back Together: Finally, reattach the back cover by popping it back into place and securing it with the screws you initially removed.
And that’s it! You’ve successfully replaced your hard drive. Remember, it’s normal to feel a bit nervous, but as I learned from my own experience, patience and a methodical approach will get you through.
Post-Replacement Steps: Initial Setup and Optimization
Now that you have successfully replaced your hard drive, it’s time to set it up and optimize it for the best performance. This might seem a bit challenging, but don’t worry – I’ve got you covered. Let’s break it down:
- Install an Operating System (OS): Firstly, you’ll need to install an operating system on your new hard drive. You can either install a new copy of Windows or recover the previously backed-up data from your old drive. To install Windows, you’ll need a bootable USB drive. Plug it in, restart your laptop, and follow the on-screen instructions.
- Update Drivers: Once you have your OS up and running, it’s crucial to update your drivers. Drivers are software that allows your computer to communicate with hardware devices – without them, parts of your computer might not work properly. You can download the latest drivers from the official Lenovo website.
- Install Essential Software: Next, install the applications you use regularly. These might include a web browser, office suite, multimedia player, antivirus software, and any other tools you need daily.
- Optimize for Performance: For SSD users, remember to enable TRIM – a command that helps maintain the performance of your SSD over time. Also, regularly defrag your hard drive (HDD users only), maintain at least 15% free space, and keep your computer clean from unnecessary software.
- Regular Backups: Finally, one of the best ways to optimize your hard drive’s performance is to ensure its longevity. Regularly backing up your data can save you from future headaches caused by data loss.
Remember, the key to a healthy and high-performing hard drive is regular maintenance and care. As I always say, a little effort put into maintaining your technology goes a long way in ensuring its performance and longevity.
Verifying Successful Hard Drive Replacement
After completing the hard drive replacement process, it’s crucial to verify if the replacement was successful. Here are some steps that can guide you through this process:
- Boot Up Your Laptop: Power on your laptop. Ideally, your system should boot up correctly without any hitches. This is the first indication that your replacement might have been successful.
- Check for New Drive in System: Once your system is up, check to see if your new drive appears in the system’s list of drives. You can do this by navigating to ‘This PC’ on Windows and checking the list of drives present. If your new drive appears here, this is a positive sign.
- Attempt a System Reboot: To further ascertain the success of the replacement, perform a system reboot. If your system restarts without any glitches or error messages, this confirms a successful hard drive replacement.
Let’s consider an example. After replacing the hard drive on my own Lenovo Flex 2-14, I powered on the laptop, and the system booted without any issues. Next, I checked the system’s list of drives, where I could see my new hard drive listed.
Finally, I performed a system reboot, and the laptop restarted seamlessly, confirming that my hard drive replacement was successful.
Remember, these steps are primarily for verification. If you encounter any problem during this process, it could indicate an issue with the replacement. In such a case, ensure all connections are secure and try repeating the replacement steps, or consider seeking professional help.

Understanding the Lenovo Flex 2-14 laptop structure
Understanding the Lenovo Flex 2-14 Laptop Structure
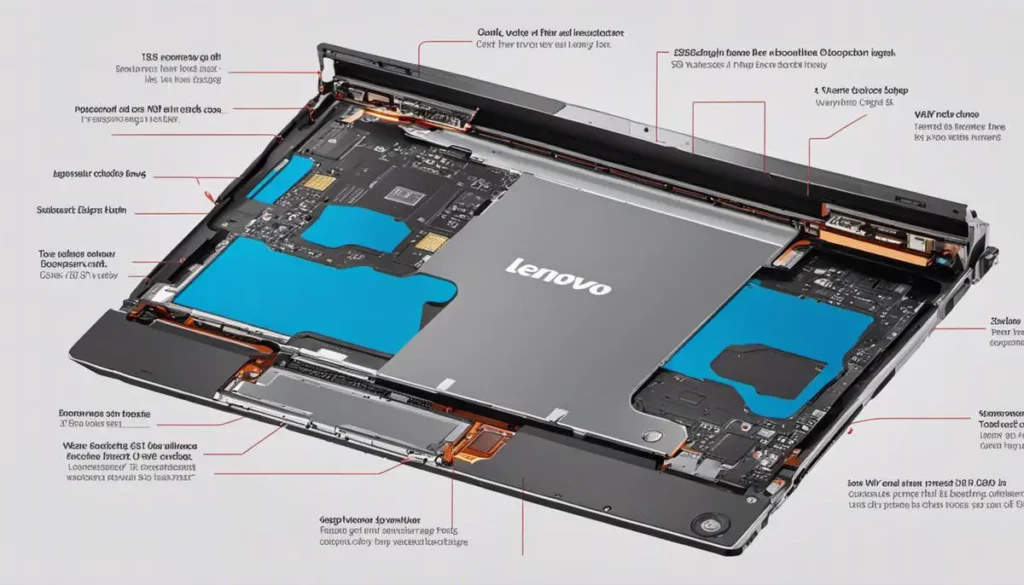
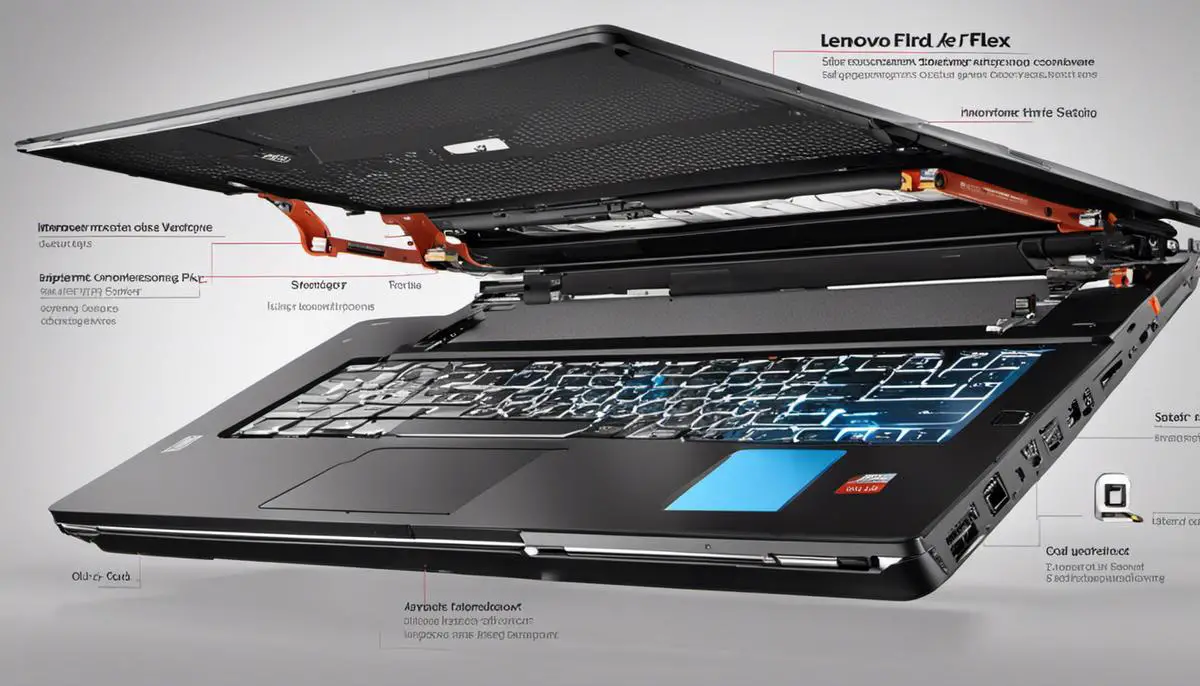
The Lenovo Flex 2-14 laptop is characterized by its sleek design and flexibility. Particular attention should be given to the lower half of the laptop, as this is where your hard drive is located.
The hard drive is typically housed in a flat rectangular slot that runs along one side of the laptop’s core underneath the keyboard. Note that the screws on the bottom casing secure the components within the laptop.
Identifying the Laptop’s Key Components
Specifically, focus on the laptop’s central processing unit (CPU), random access memory (RAM), and your hard drive (HDD or SSD depending on your model).
Among these components, your hard drive is typically the largest component, housed in a flat and wide metal casing.
Its location might vary slightly depending on your specific Lenovo Flex 2-14 model and will be connected to the computer’s motherboard through SATA cables.
Selecting the Right Hard Drive Replacement
Before replacing the hard drive, you need to decide whether to replace it with a hard disk drive (HDD) or a solid-state drive (SSD).
An HDD is more affordable but usually slower, while an SSD is faster but more expensive. Once you’ve selected the type, you need to consider capacity (typically ranging from 128GB to 2TB) and speed (5400 RPM to 7200 RPM for HDDs, while SSDs differ in read/write speeds).
Ensuring Software Support
Once you have decided on a hard drive replacement, consider the software support needed for the transition. You will likely need to reinstall your operating system and other necessary applications.
A backup of existing data is strongly recommended before proceeding with hard drive replacement to prevent data loss.
Maintaining Safe Space Allocation
While replacing the hard drive, be aware of the laptop’s space allocation for different components. Placing a drive that’s too big might damage nearby parts and also hinder the laptop’s cooling solution.
For Lenovo Flex 2-14, make sure the replacement hard drive height doesn’t exceed 7mm to fit correctly in the hard drive bay.
Unlike desktop computers, laptops such as Lenovo Flex 2-14 need extreme caution during hard drive replacements due to their compact designs. Always make sure to handle all components with care and respect the internal structure of the laptop for a successful and safe replacement.
Also Read: Lenovo Yoga vs Flex Laptops: What’s the Difference?

Troubleshooting Common Issues
If you encounter any problems during or after replacing the hard drive, here are some common issues and their solutions:
- The laptop doesn’t recognize the new hard drive:
- Make sure the hard drive is properly connected and all screws are tightened.
- Verify that the hard drive is compatible with your Lenovo Flex 2-14 model.
- The laptop is slower after the replacement:
- Ensure that all drivers have been updated after reinstalling the operating system.
- Check the power settings to ensure that the laptop is not in power saver mode, which can affect speed.
- The laptop doesn’t boot after the replacement:
- This could be due to an incorrect installation of the operating system. Consider reinstalling it.
- Data migration issues:
- If you are experiencing difficulties migrating your data to the new hard drive, carefully follow each step and ensure a stable connection between the new hard drive and your backup storage.
Remember, if you are unsure, it is always best to seek professional assistance to avoid compromising the functionality of your laptop.
Final Thoughts and Reflections on the Replacement Process
The journey of replacing the hard drive for the Lenovo Flex 2-14 laptop can seem daunting at first, given the compact and intricate design of the device. However, with careful planning, the right tools, and a meticulous approach, the process becomes manageable.
The key is to take it step-by-step, ensuring each part is correctly handled and installed. It’s important to remember that while this task is technically demanding, it also offers an insightful look into the world of hardware and computer science.
From choosing between an HDD and SSD to understanding the internal structure of your laptop, to troubleshooting potential issues, every stage presents an opportunity for learning and growth. The sense of accomplishment at the end of a successful hard drive replacement is immensely rewarding.
Additionally, this process serves as a great exercise in self-sufficiency and problem-solving. However, it’s okay to seek professional help if you’re unsure at any stage. Remember, the goal is a smoothly functioning laptop, achieved in the safest manner possible.
Links to Related Sources
For a more comprehensive understanding of the hard drive replacement process for Lenovo Flex 2-14, you may find these resources helpful:
- Lenovo Official Support: For the most accurate and up-to-date information on hardware replacements and troubleshooting.
- Lenovo Community Forums: Here, you can connect with other Lenovo users who might have faced similar issues and shared their experiences.
- HDD vs. SSD: A Complete Laptop Storage Guide: This article provides a detailed comparison between HDDs and SSDs, helping you make an informed choice.
Remember, while this guide provides you with a comprehensive understanding of the process, it’s always best to refer to multiple sources and seek professional assistance if needed.

J.S. is the owner, content creator, and editor at Upgrades-and-Options.com. I’ve worked in the IT and Computer Support field for over 20 years. The server hardware in my computer labs has mostly been IBM, but I’ve supported Dell, HP, and various other hardware. In addition, as part of my lab administrator responsibilities, I’ve learned, supported, and repaired/upgraded network hardware such as Cisco routers and switches. READ FULL BIO >>
- Best Laptops for AI and Machine Learning
- Upgrading SSD Storage in the ThinkPad X9-15 Gen 1 Aura Edition
- How Quantum Computing Could Impact Everyday Laptops
- What Is The Difference Between Lenovo’s Pens? (with Part Numbers)
- Legion 5 Laptop Upgrade Guide: Game Like a Pro
- How to Replace Your Laptop Battery: A Step-by-Step Guide
- IdeaPad Gaming 3 Upgrade (Full Specs)
- Shut Down a Lenovo Laptop: Quick and Easy


